
The complete guide
How to Choose a Baby Car Camera That You Will Actually Use
The problem with driving blind
The first long drive with a rear-facing infant seat is a strange experience. Your child is about four feet away and completely out of sight. You hear a noise, or you stop hearing a noise, and you have no idea which one is worse. So you crane your neck at a red light, or you angle the rear-view mirror at a seat-mounted convex mirror and hope the reflection lands somewhere useful.
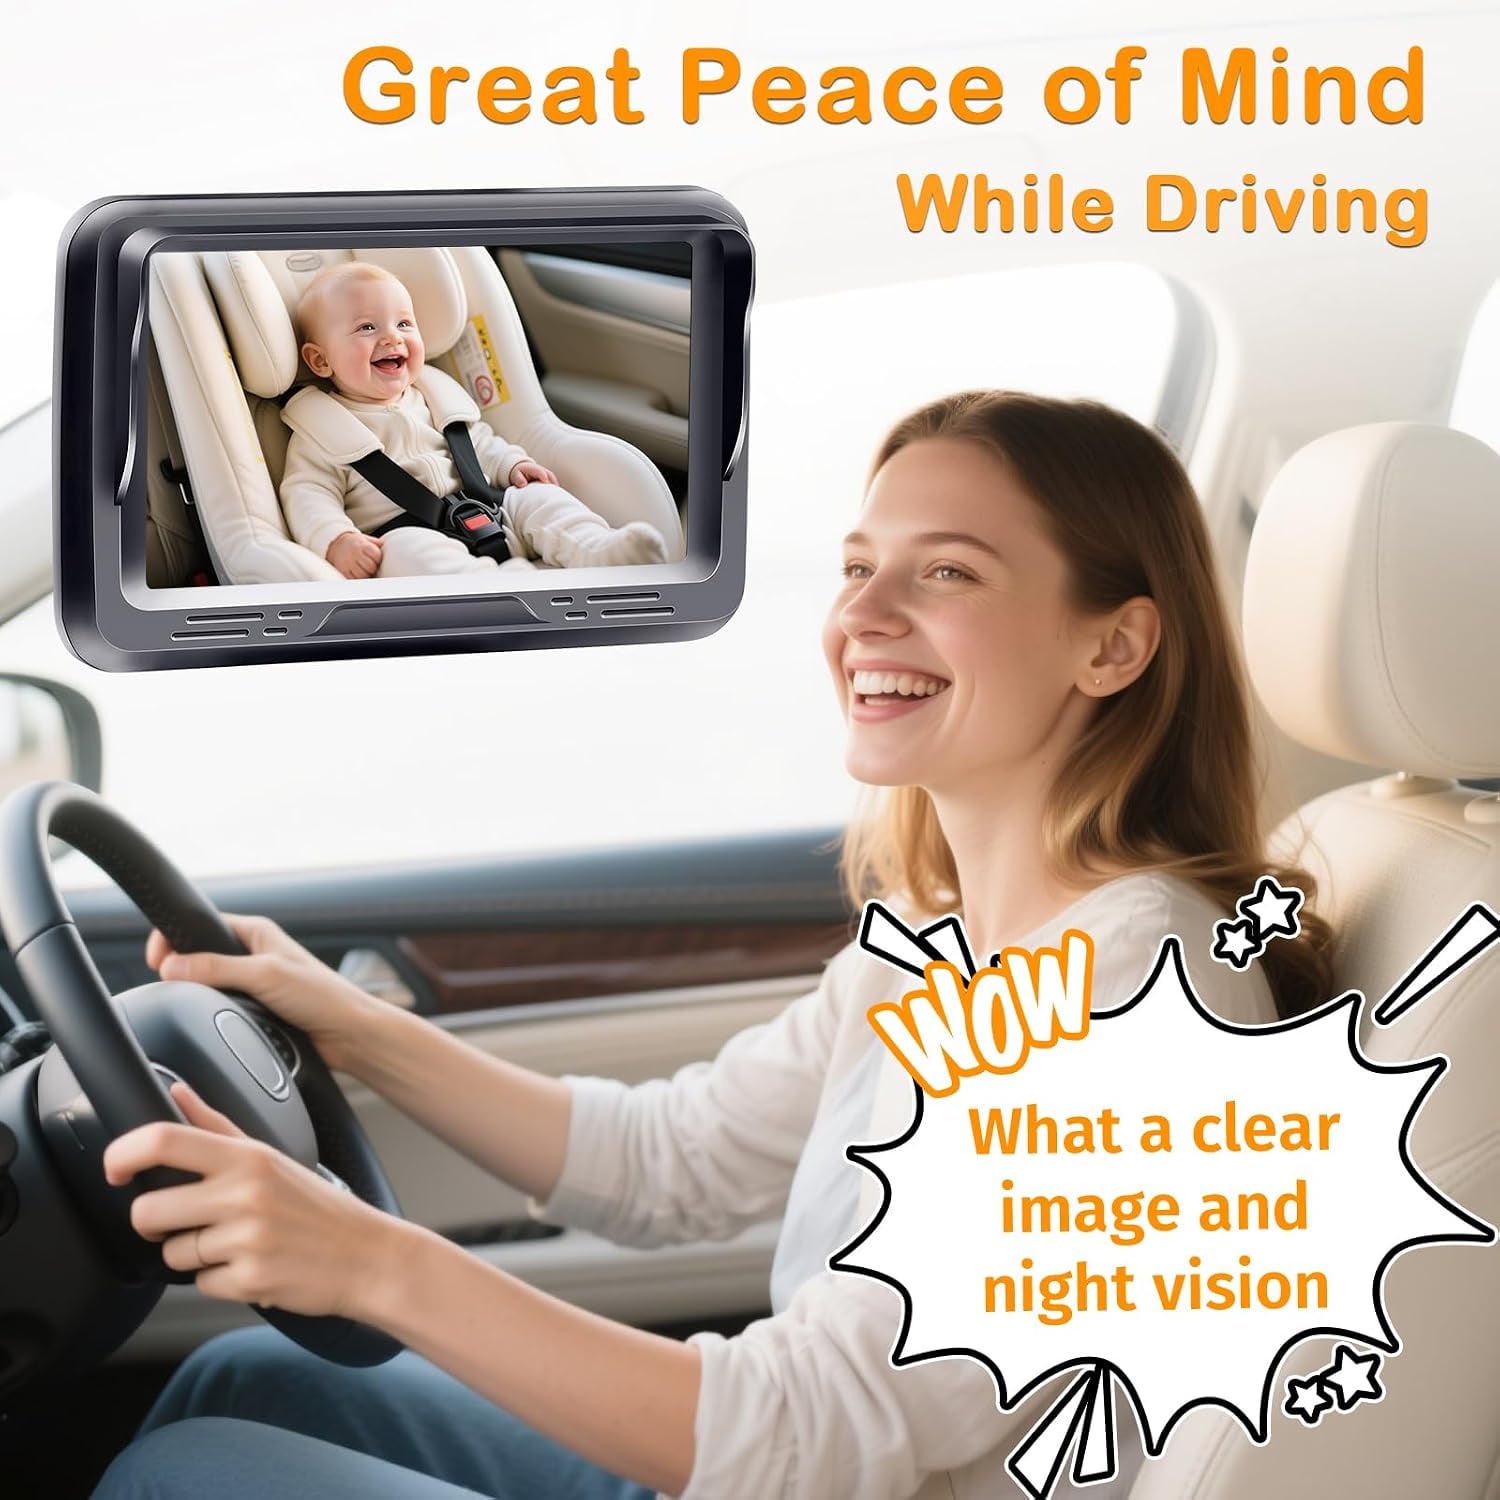
Mirrors are better than nothing. But they rely on a clean, unbroken sight line, they need daylight, and they almost always force a head movement. At night they are close to useless. A back seat camera skips all of that. The camera sits where your eyes cannot go, and the picture comes to a screen that sits in your normal field of view.
That is the whole pitch. It is not a clever product, it is a simple one, and the simplicity is the point.
How a wired baby car camera works
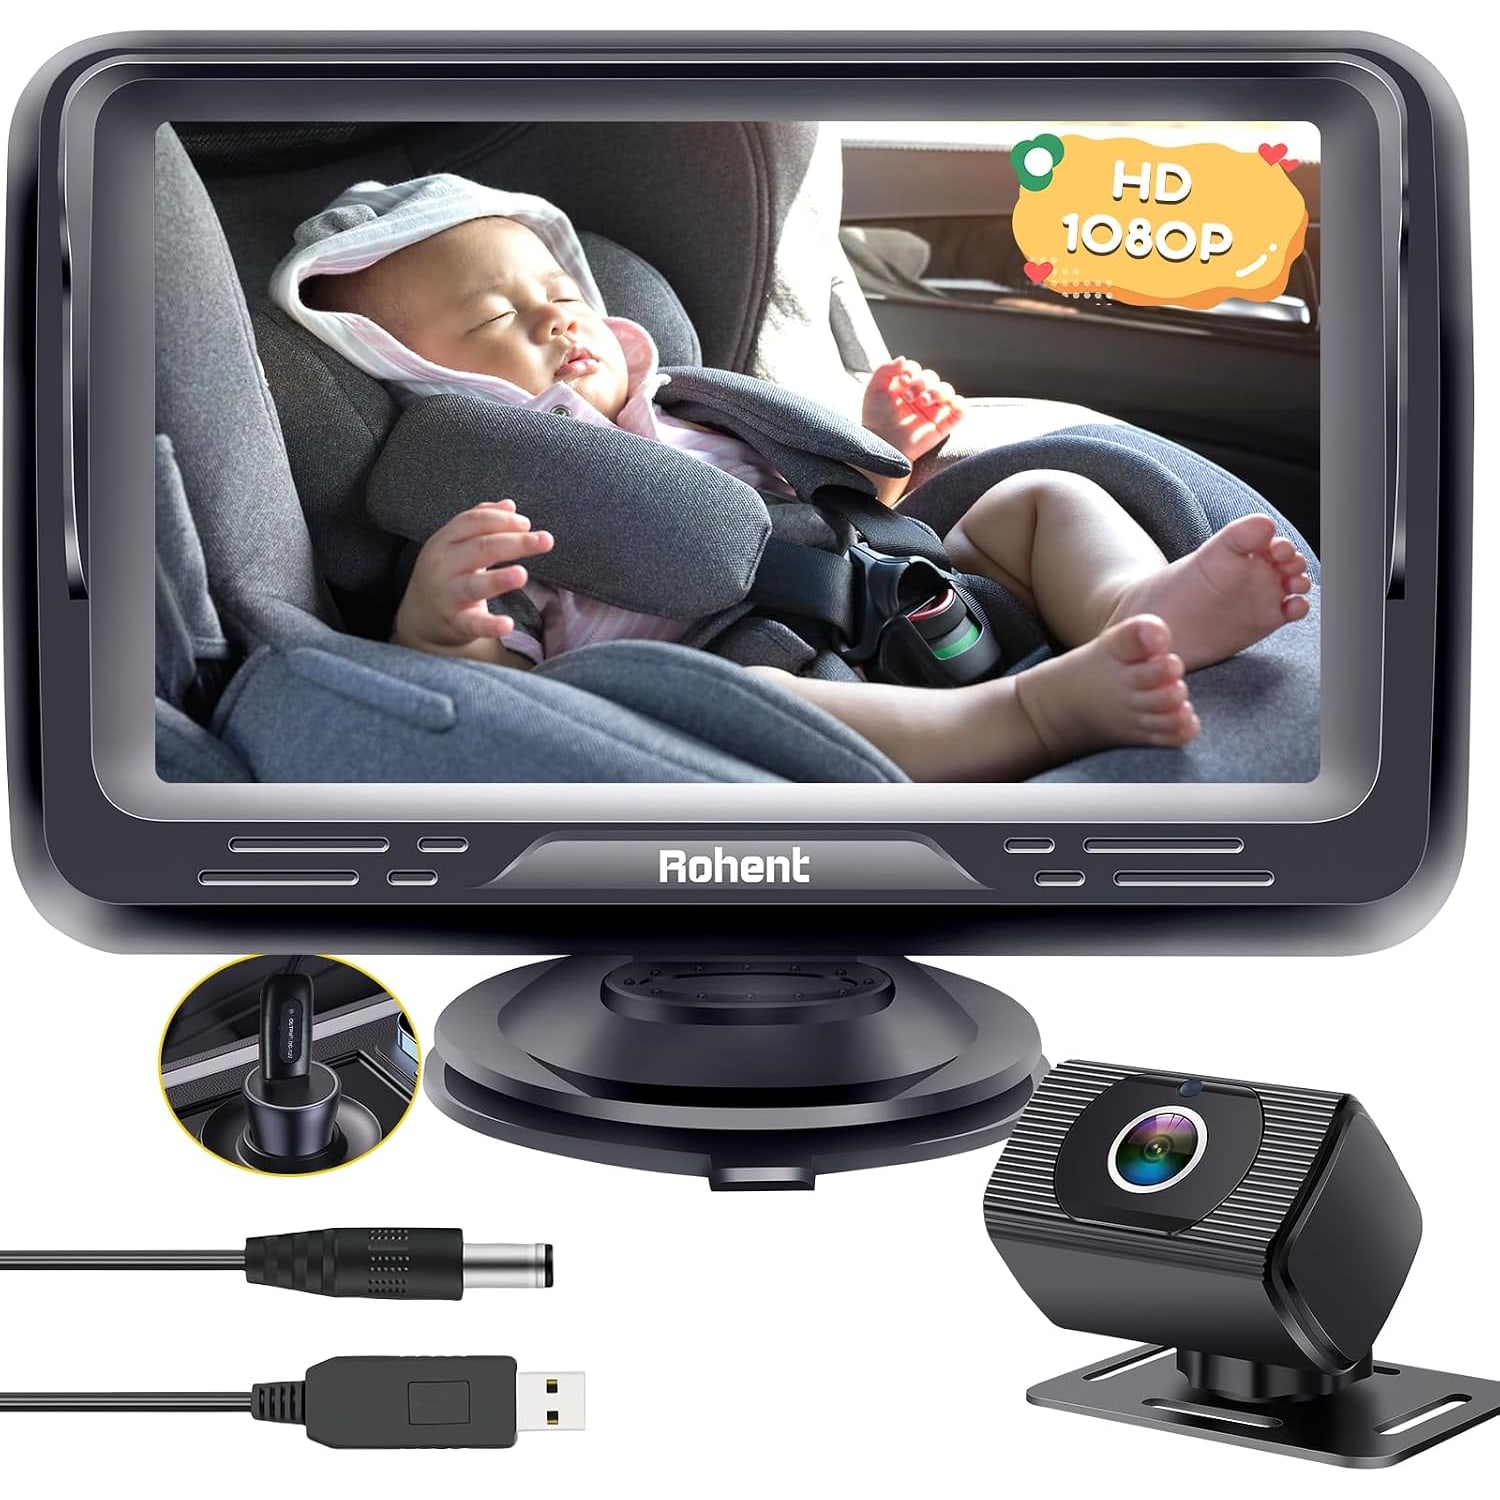
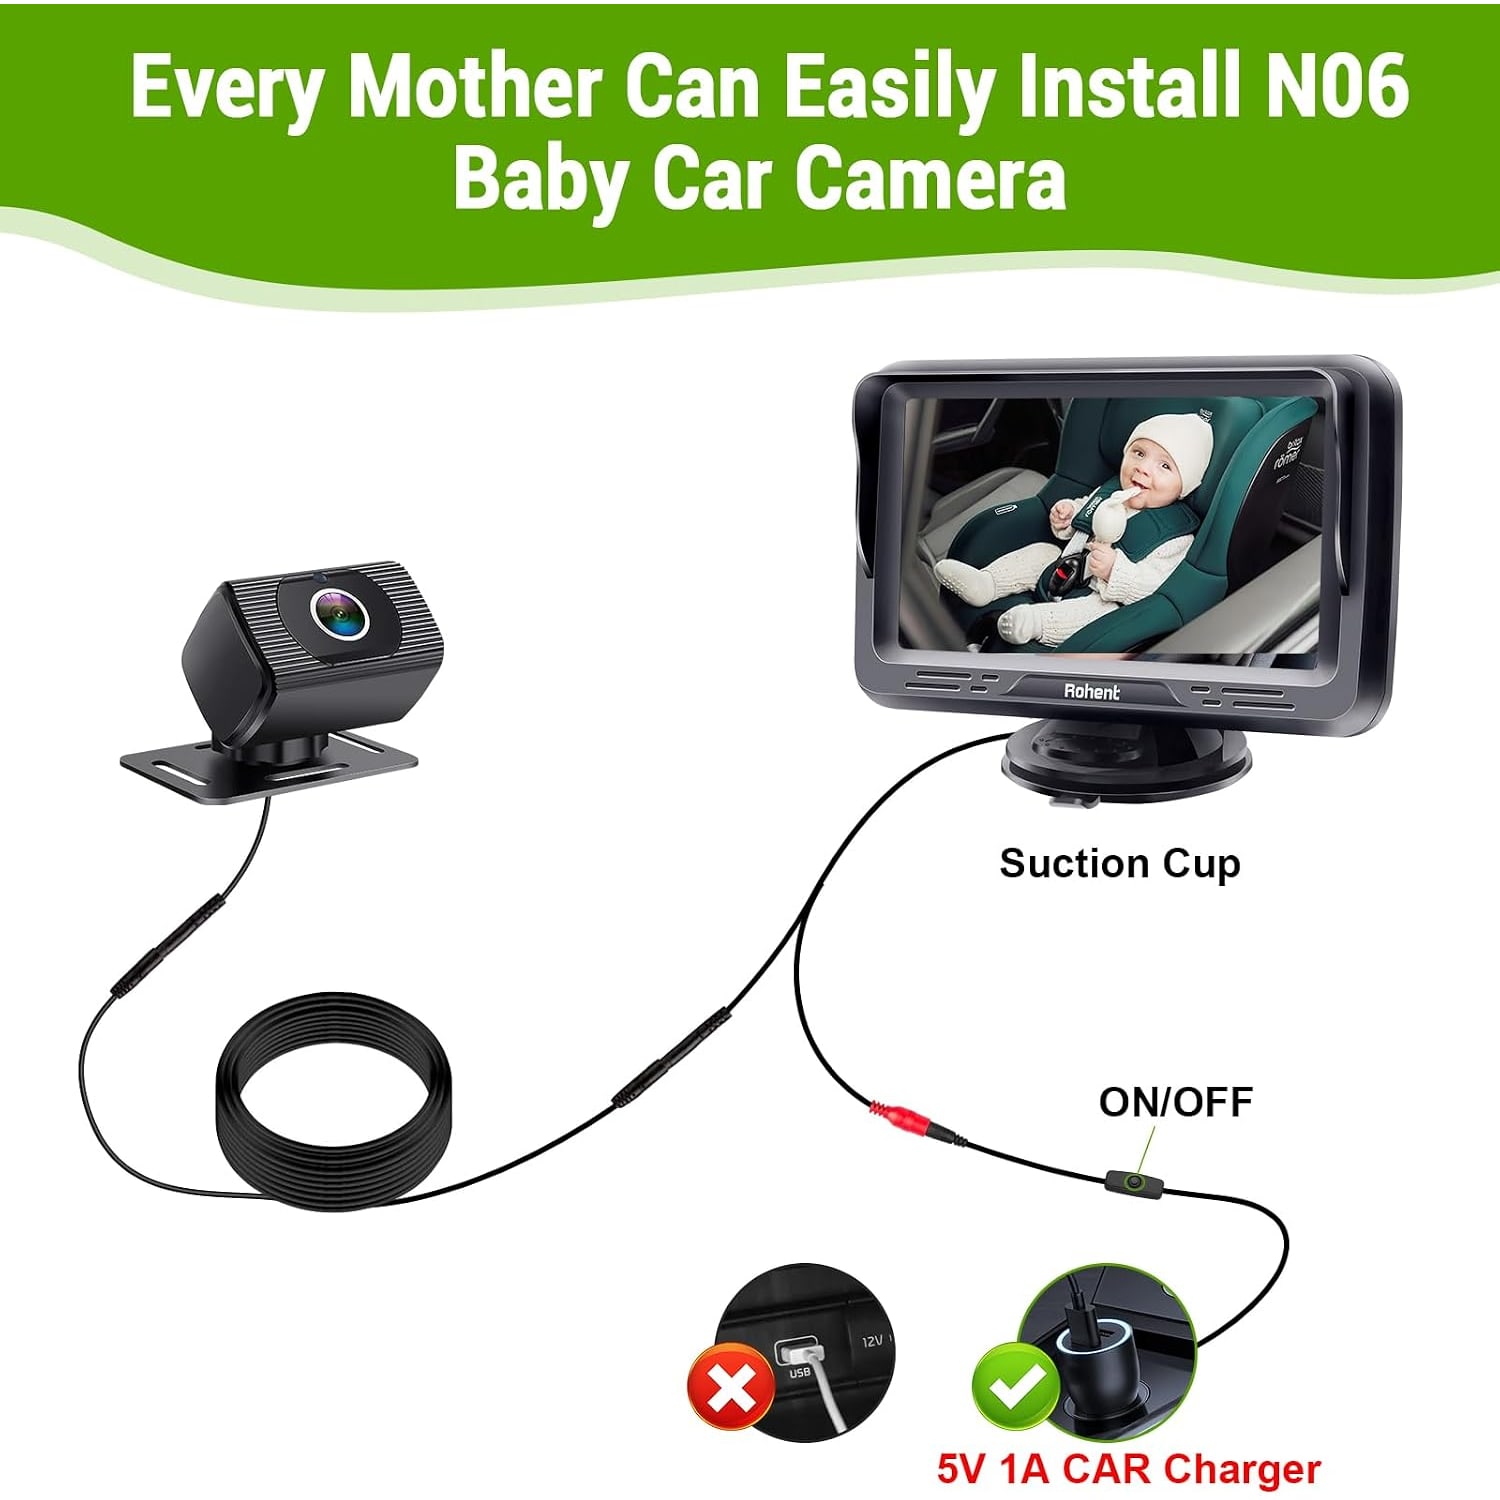
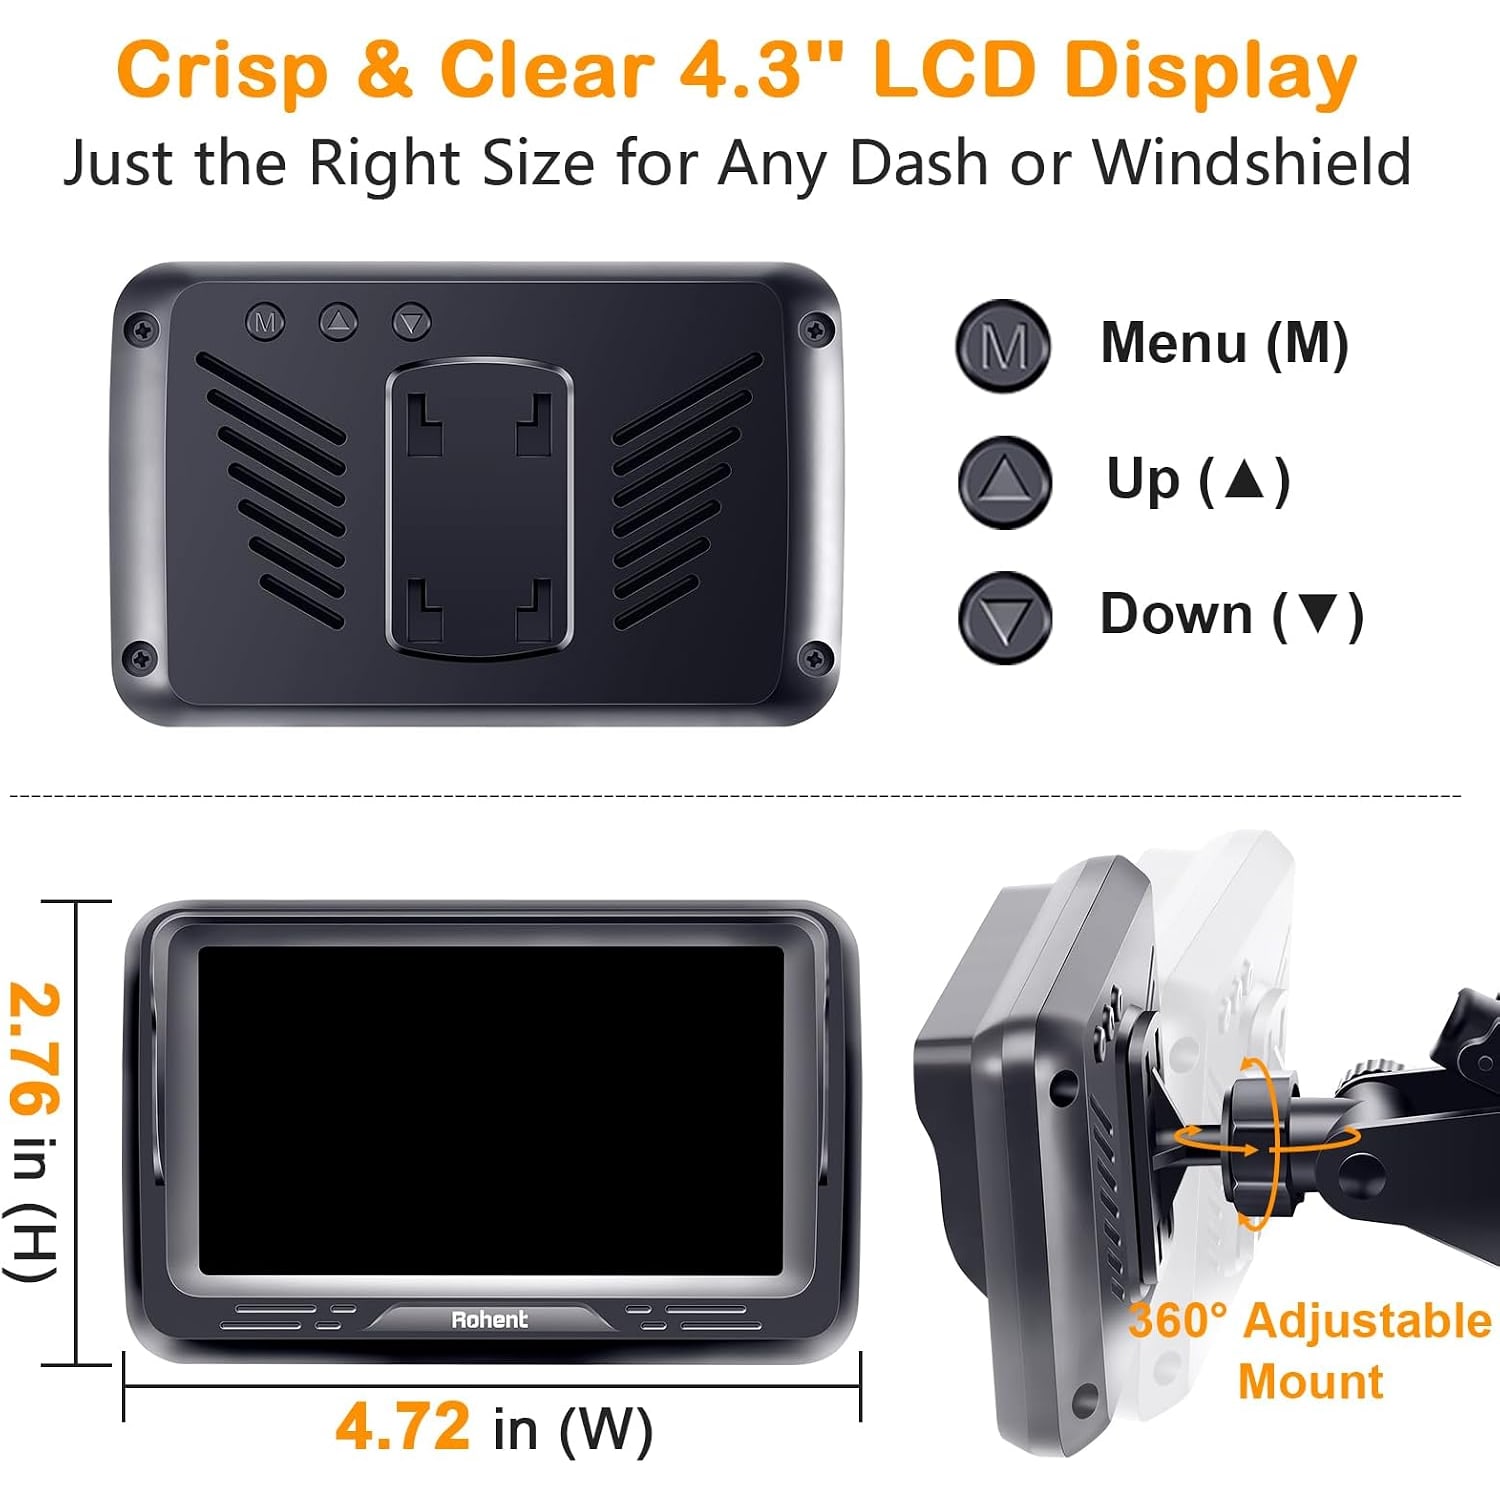
This system has two halves. A small camera mounts behind your child, usually strapped to a headrest, and a 4.3 inch monitor mounts on the windshield or dash with a suction cup. A video cable connects the two, and a USB cable with an inline on/off button powers the display through the supplied car charger.
Because it is wired, there is no pairing, no Wi-Fi network, no app and no lag. Wireless baby car monitors exist and they do tidy up the cabin, but they introduce a connection that can drop and a battery that can die halfway through a trip. A wired setup trades a visible cable for a picture that is simply always there when the ignition is on.
The camera itself shoots at 1080P through a 150 degree lens. Resolution matters less here than you might think, since you are looking at a small screen from a distance. What matters more is the width of the view and how the camera copes with low light.
Night vision, and why it is the feature that sells itself
Daytime monitoring is easy. Any camera manages it. Evening drives are where these products separate.
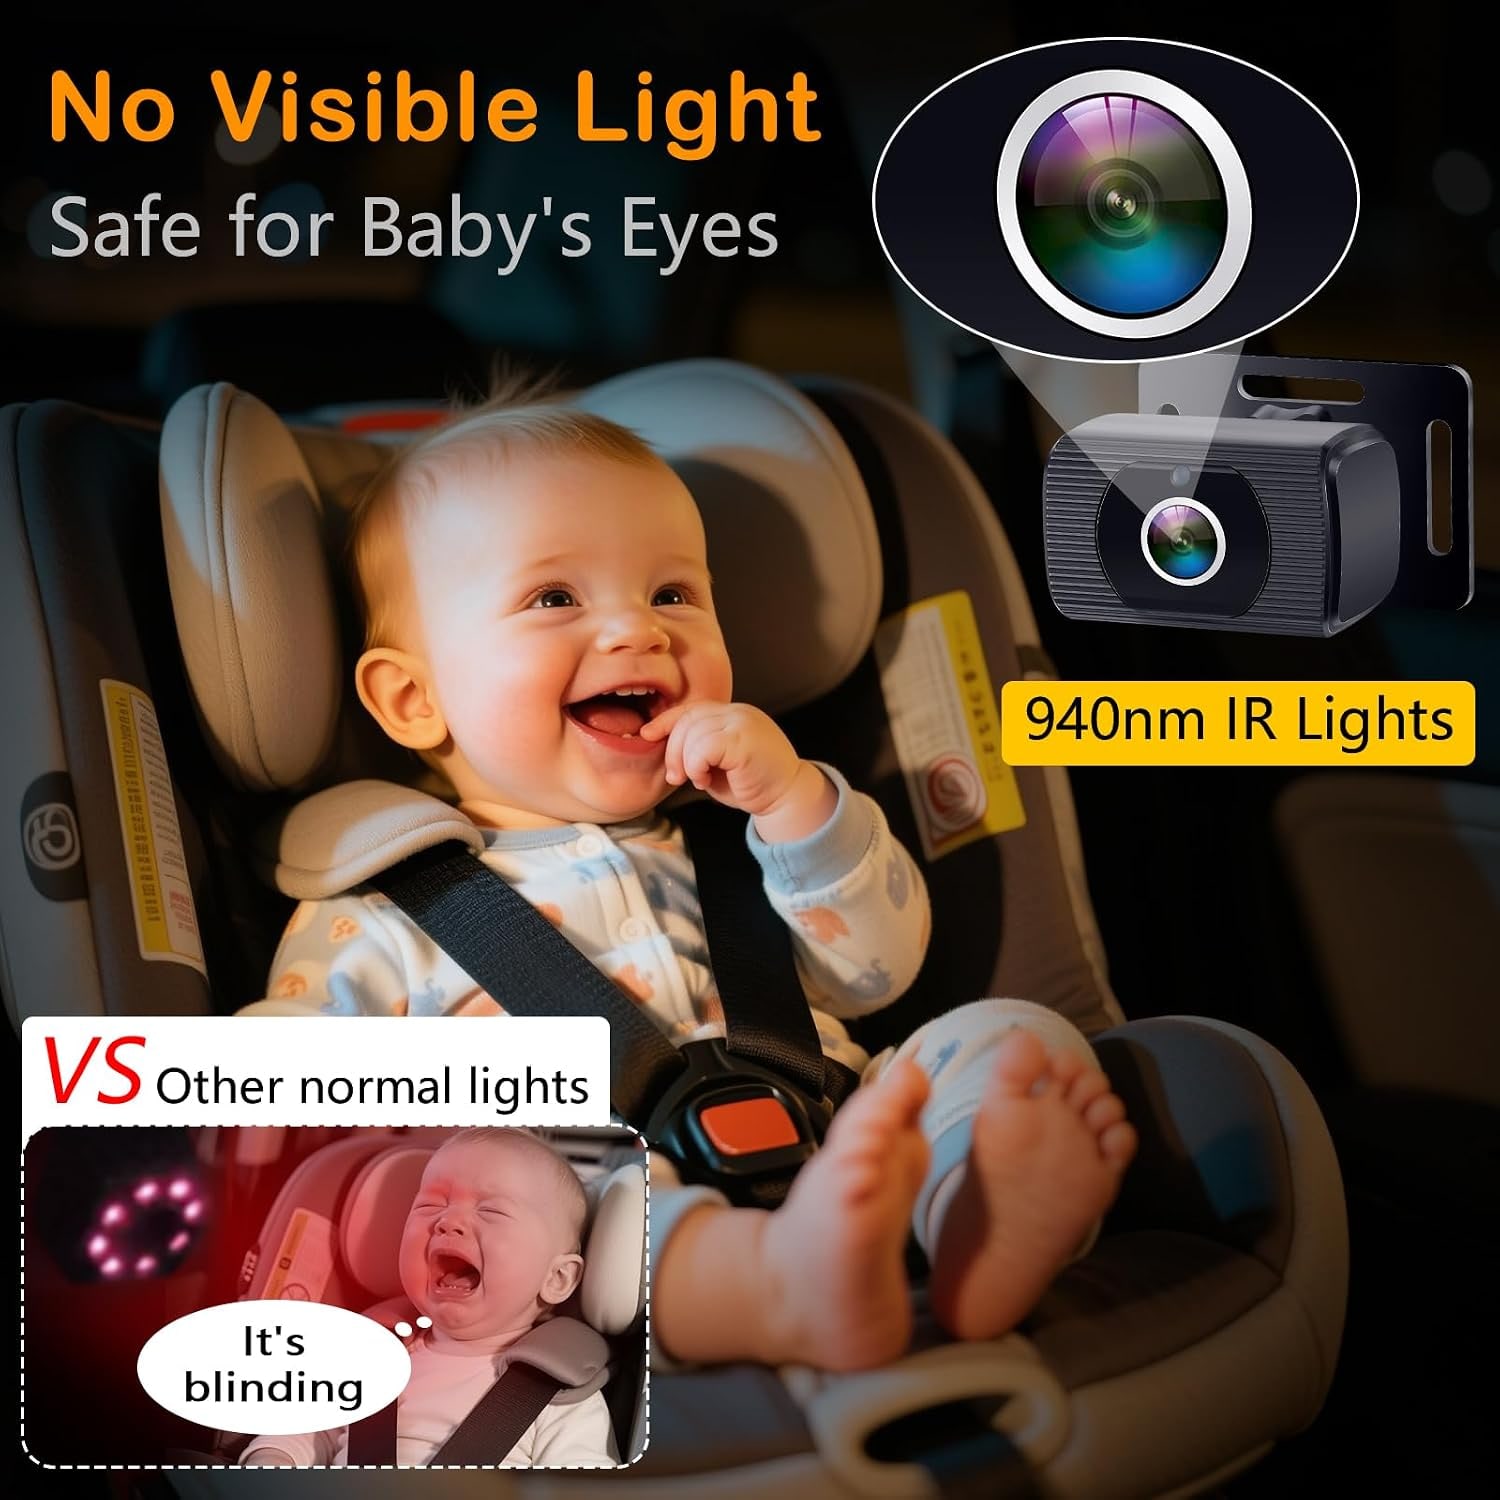
This one uses infrared lights that switch on by themselves when the cabin goes dark. The camera moves to night vision mode and the picture stays readable. The maker says there is no visible light pointed at your child. There is no mode button to find while driving, which is exactly right, because the last thing you want is a menu to navigate at 60 mph.
If you mostly drive during the day, this still earns its place. Covered parking garages, tunnels, winter afternoons and underground drop-off lanes all drop the light level enough to trigger it.
Getting the angle right
The 360 degree brackets on both the camera and the monitor are the quiet hero here. Vehicles differ enormously in cabin geometry, and a fixed-angle camera that works beautifully in a sedan can be hopeless in a tall SUV.
Some placement notes that save a lot of fiddling:
For a rear-facing infant seat behind the front passenger, mount the camera on the rear headrest directly behind the seat and tilt it down. You want the child's face in the upper two-thirds of the frame, with a bit of the seat edge visible for context.
For a forward-facing toddler, mount higher and further back if you can. Toddlers move, and a wider framing beats a tight one once they start reaching for things.
In a minivan or three-row SUV, distance is your enemy. The further back the child sits, the smaller they appear on a 4.3 inch screen. Test the view while parked before you commit to a cable route.
Whichever position you choose, set it with the car stationary. Nudge, check the monitor, nudge again. Two minutes of patience here beats a month of a slightly-off view.
Mounting that stays put
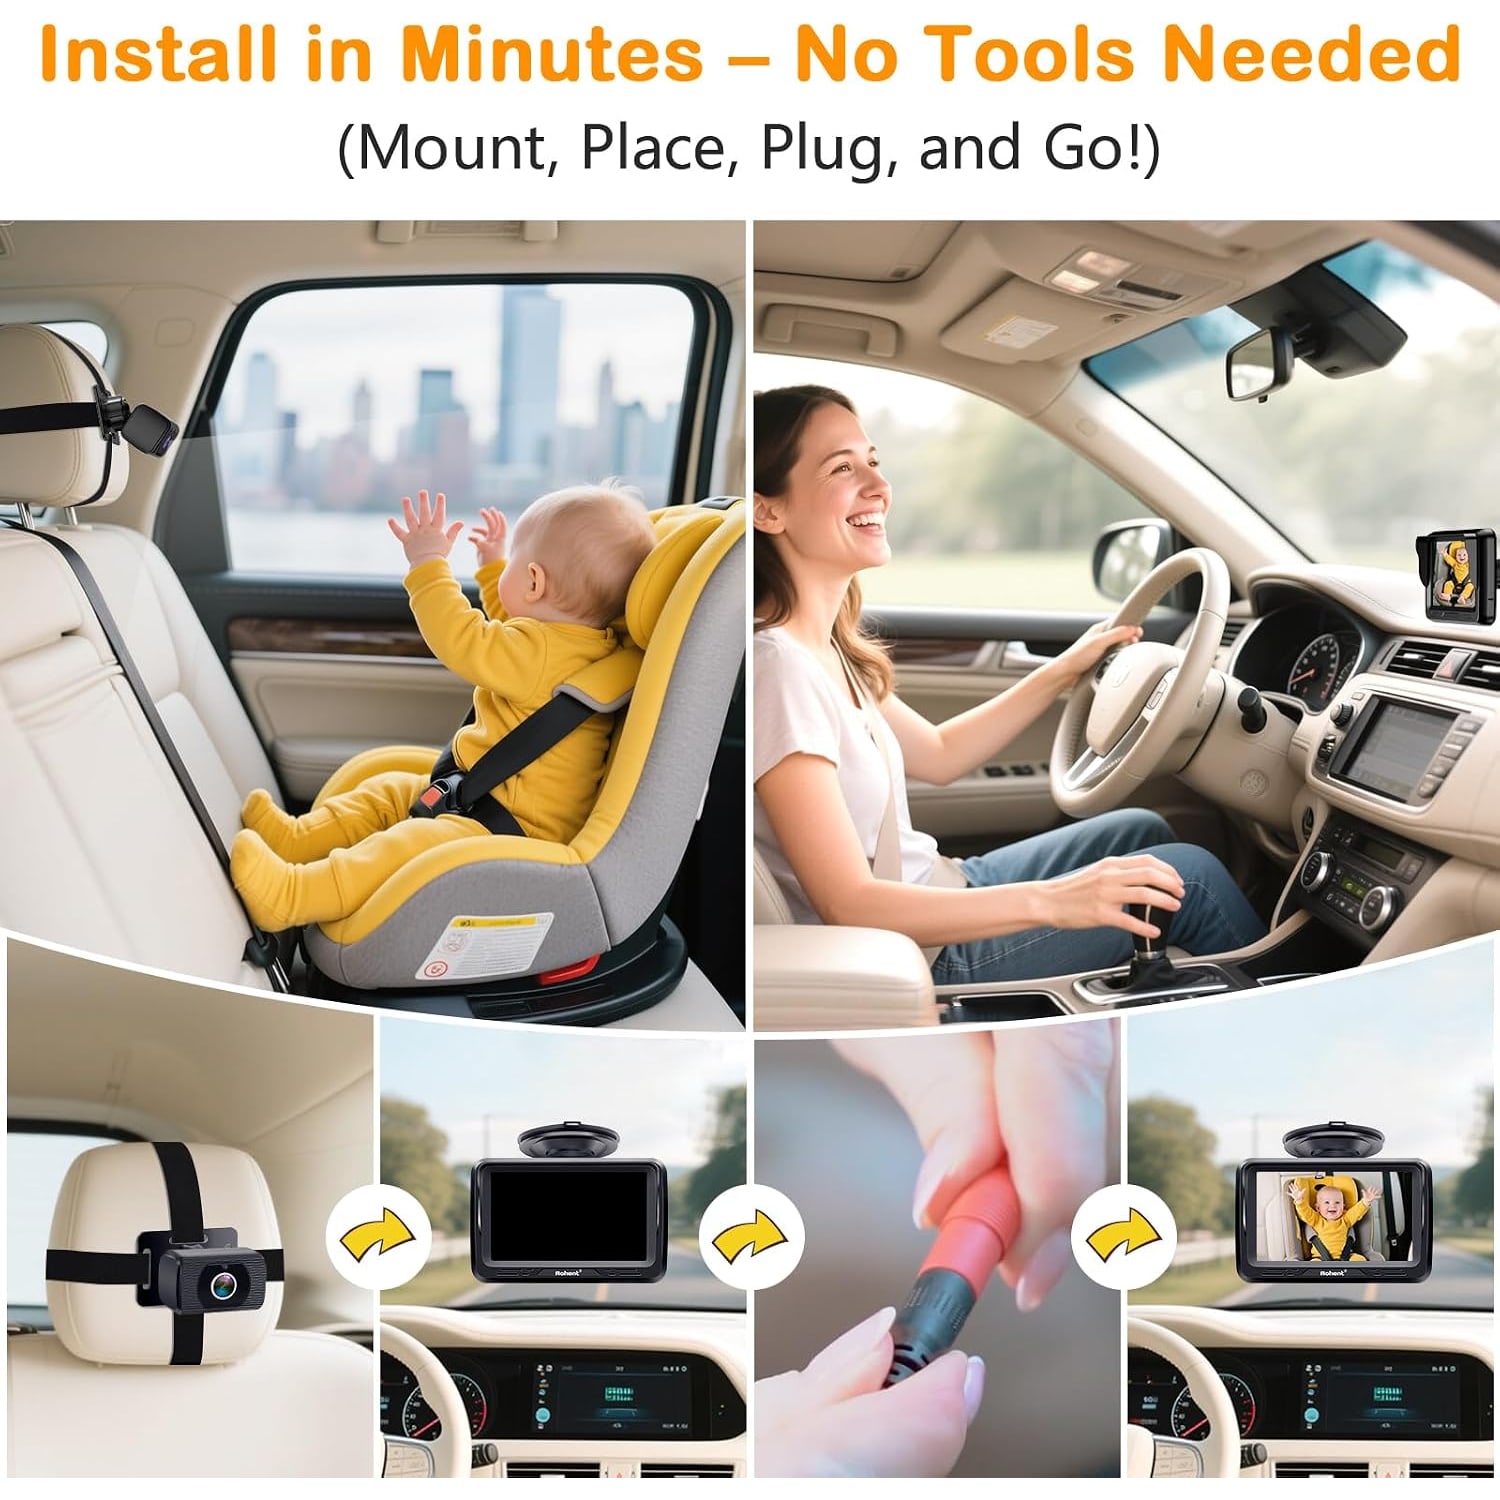
The camera end uses two straps, one vertical and one horizontal, around the headrest. Pull both tight so the bracket sits flat, then rotate the camera to aim it. The upgraded suction cup is for the monitor.
For the monitor on the windshield or dash, clean the surface properly first. A quick wipe with glass cleaner and a dry cloth removes the film that makes cups creep down the screen over a week. Press firmly and hold for a few seconds. If you live somewhere cold, warm the cabin for a minute before mounting, because cold glass and cold rubber do not grip well.
Cable routing is the last bit. Tuck the cable along the headliner edge or down the A-pillar trim, then under the dash. Keep it clear of airbag covers and out of the seat runners. A few adhesive cable clips, which you can buy for pocket change, make the install look factory rather than aftermarket.
Who this suits, and who it does not
It suits parents of infants in rear-facing seats most of all. Grandparents who drive the kids occasionally like it because there is nothing to learn: the screen is just on.
It is less useful if your child sits in a booster right behind you where you can already see them in the rear-view mirror. And it is not a dash cam. It shows you a live view, it does not create a record of your drive. If you want footage of the road, that is a separate device.
It is also not a safety system. It will not alert you, it will not detect anything, and it does not replace checking your back seat before you walk away from the car. It is a window, nothing more.
Living with it day to day
The on/off button on the USB cable turns out to be more useful than it sounds. Driving alone with no child in the car? Flick it off and the screen stops being a distraction. Driving at night with a sleeping passenger? Turn the brightness down rather than switching off entirely.
The display's brightness, contrast and saturation controls are worth five minutes of your time when you first set it up. Most people leave factory settings alone and then complain the screen is too bright at night. Set a level you are happy with for evening driving, then bump brightness up only when low sun is hitting the glass.
Cleaning is simple. A dry microfiber cloth on the lens and the screen, nothing wet sprayed directly on either. The lens picks up dust and fingerprints that soften the picture, so wipe it now and then.
What to check before you buy
Measure the distance from your child's seat to your windshield. If it is more than about eight feet, think about whether a 4.3 inch screen gives you the detail you want. Check your USB or 12V socket location, since that determines your cable route. And look at your headrests: the straps wrap around the headrest both ways, so check there is room to pass them through.
The short version
A baby car camera solves one problem well. It shows you the back seat without asking you to turn around. This one does it with a 150 degree 1080P view, automatic infrared night vision, a 4.3 inch adjustable screen and brackets that rotate fully at both ends.
It is wired, which means no app, no pairing and no battery anxiety. The maker puts the install at about 2 minutes with the included USB cable, car charger, suction cup and straps. Everything you need is in the box, and there is nothing ongoing to pay.
If you are driving an infant in a rear-facing seat, it is one of the few accessories that changes how the drive feels from the very first trip.