
The complete guide
How to Choose and Use a Camera Cleaning Kit
The problem nobody notices until they zoom in
You get home, drop the card into the computer, and there it is. A small grey blob in the corner of an otherwise clean sky. It was not there last month. You did not see it on the back of the camera. But at 100 percent it is obvious, and now it is in every frame from that afternoon.
Dust is the most common fault in a set of photos and the least dramatic. It does not announce itself. It builds up slowly on a front element, drifts into a lens mount when you change glass on a windy beach, settles on a sensor the one time you swapped lenses facing upward. Add a thumbprint on the rear screen and a smear of sunscreen on the filter and the image gets softer in a way that is hard to pin down.
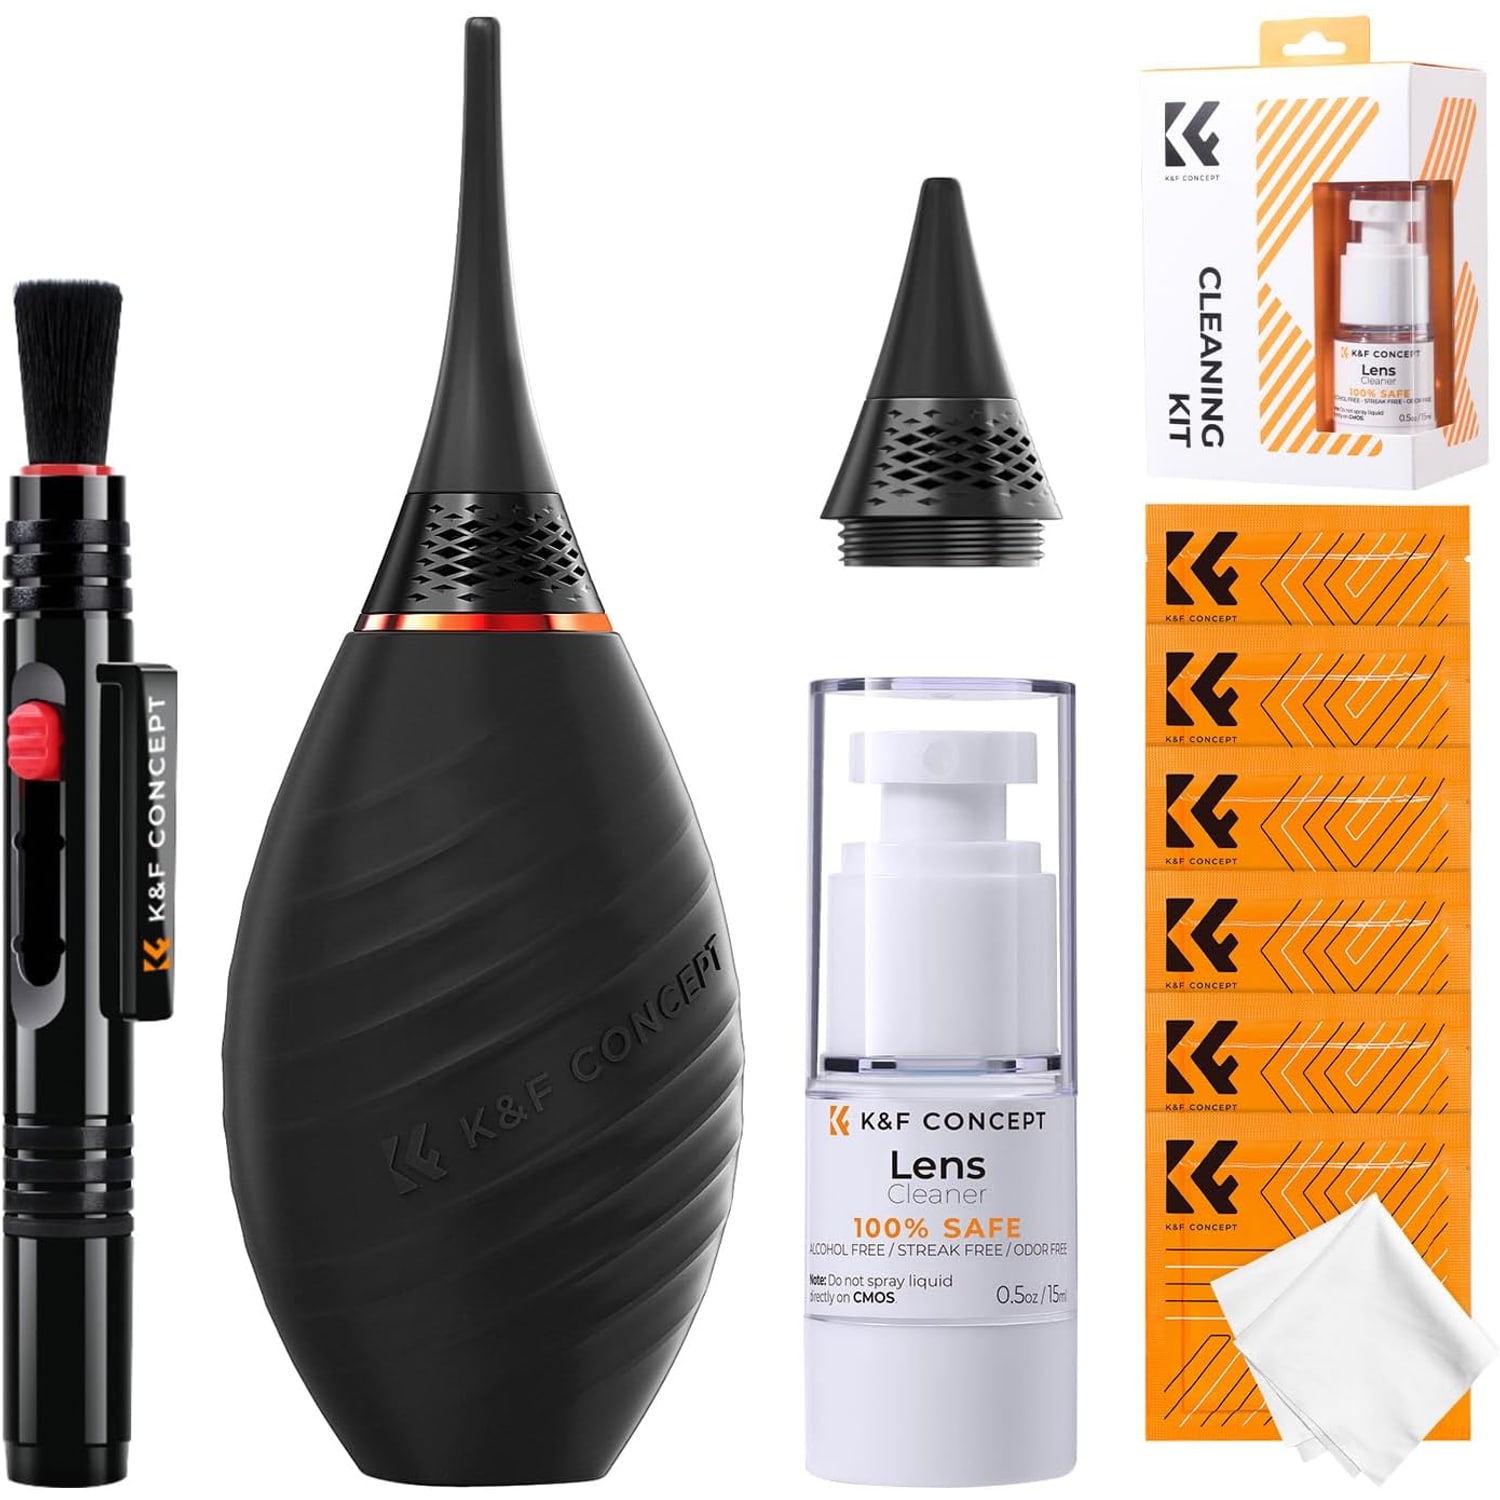
The fix is not complicated. It is a blower, a brush, a cloth and a little fluid, kept where you can reach them. That is what a camera cleaning kit 10 in 1 is: the four tools that handle almost every cleaning job, bundled small enough to live in a bag pocket.
What is actually in the box
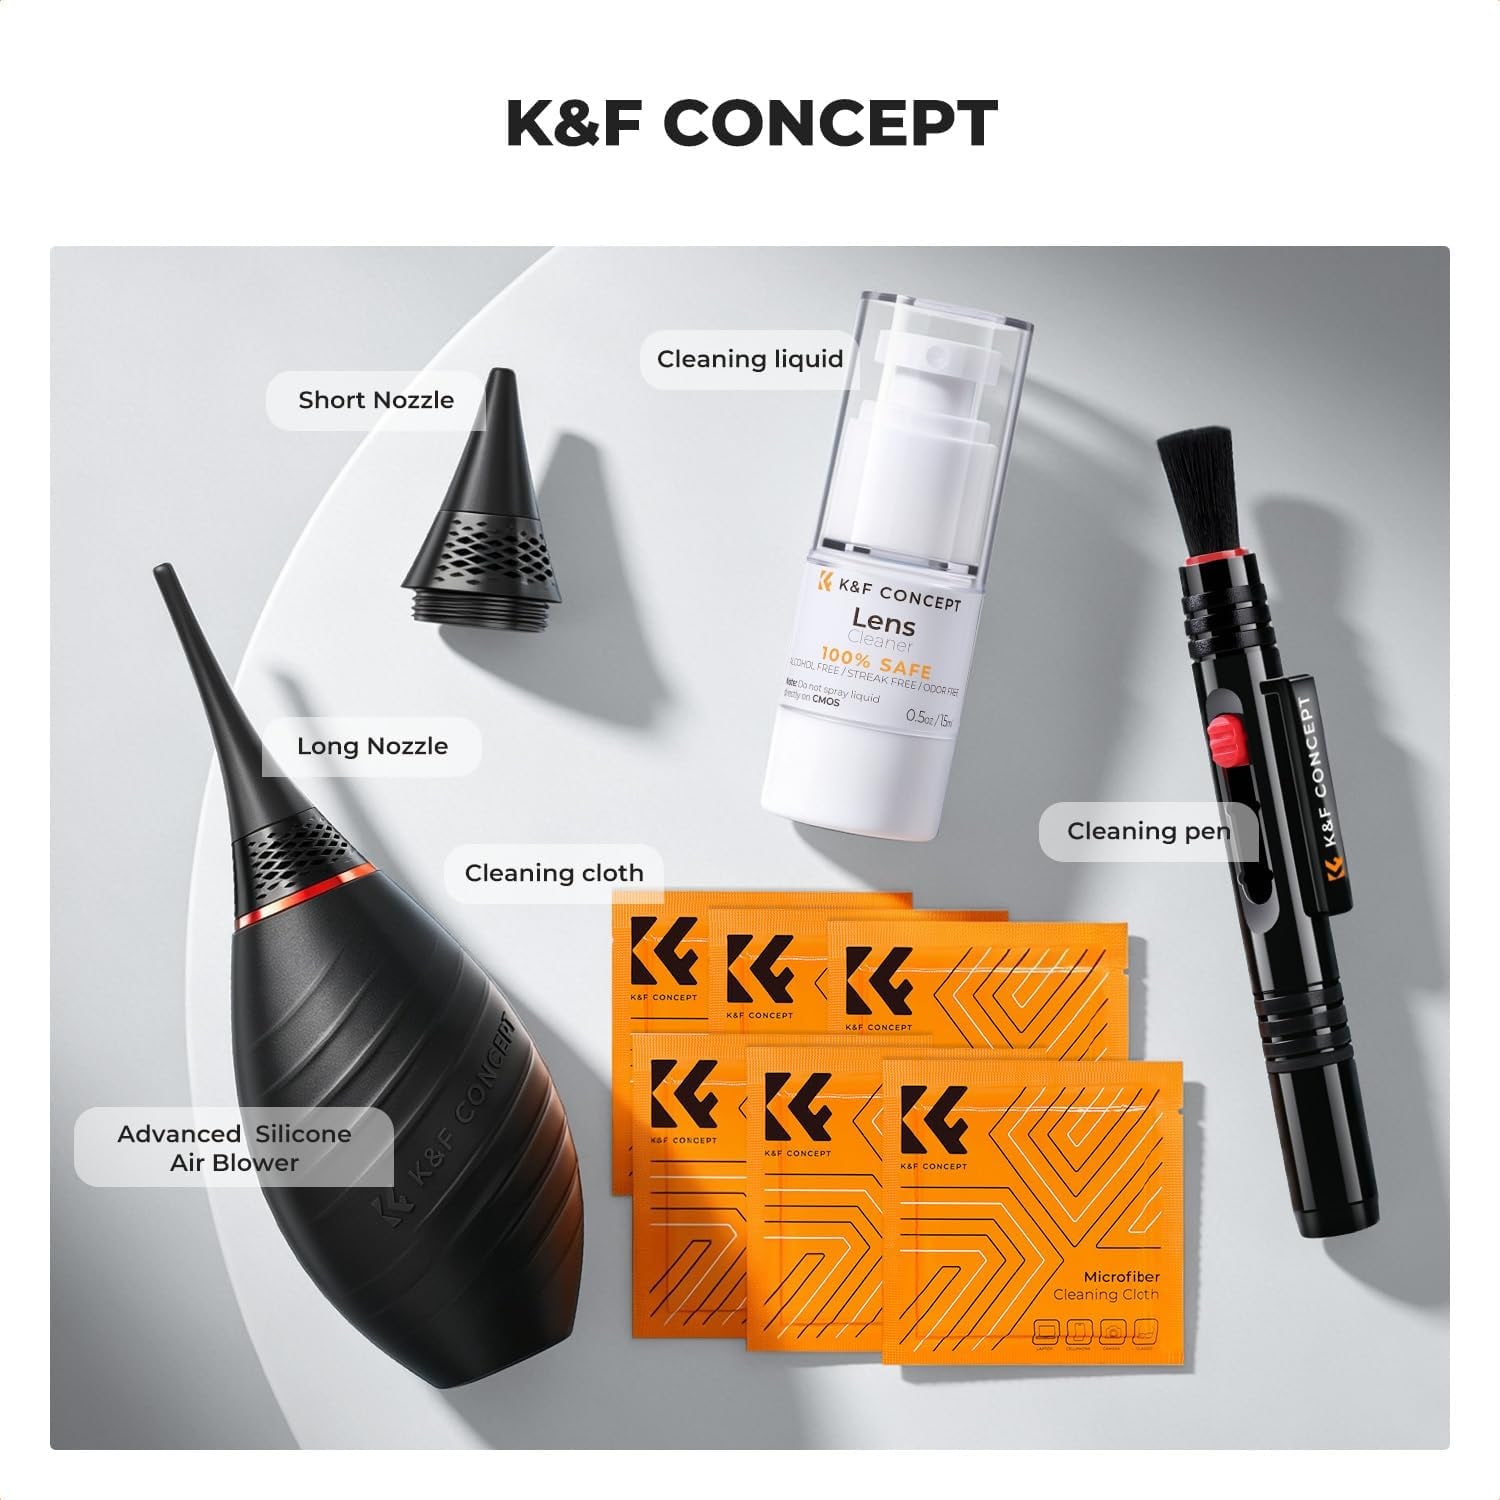
The maker's name says 10-in-1 and its specifications say nine items, so go by the itemized contents. There is a silicone air blower, two nozzles that thread onto it, a cleaning pen, six microfiber cloths and a 15 ml bottle of cleaning solution.
The blower is the piece you will use most. It is made of silicone, and the maker says the soft air nozzle will not damage the lens. The bulb uses a one-way intake, which the maker says avoids air being sucked back in. That is not marketing detail. A blower that breathes in through its own tip collects whatever it just blew off and sends it back the next squeeze.
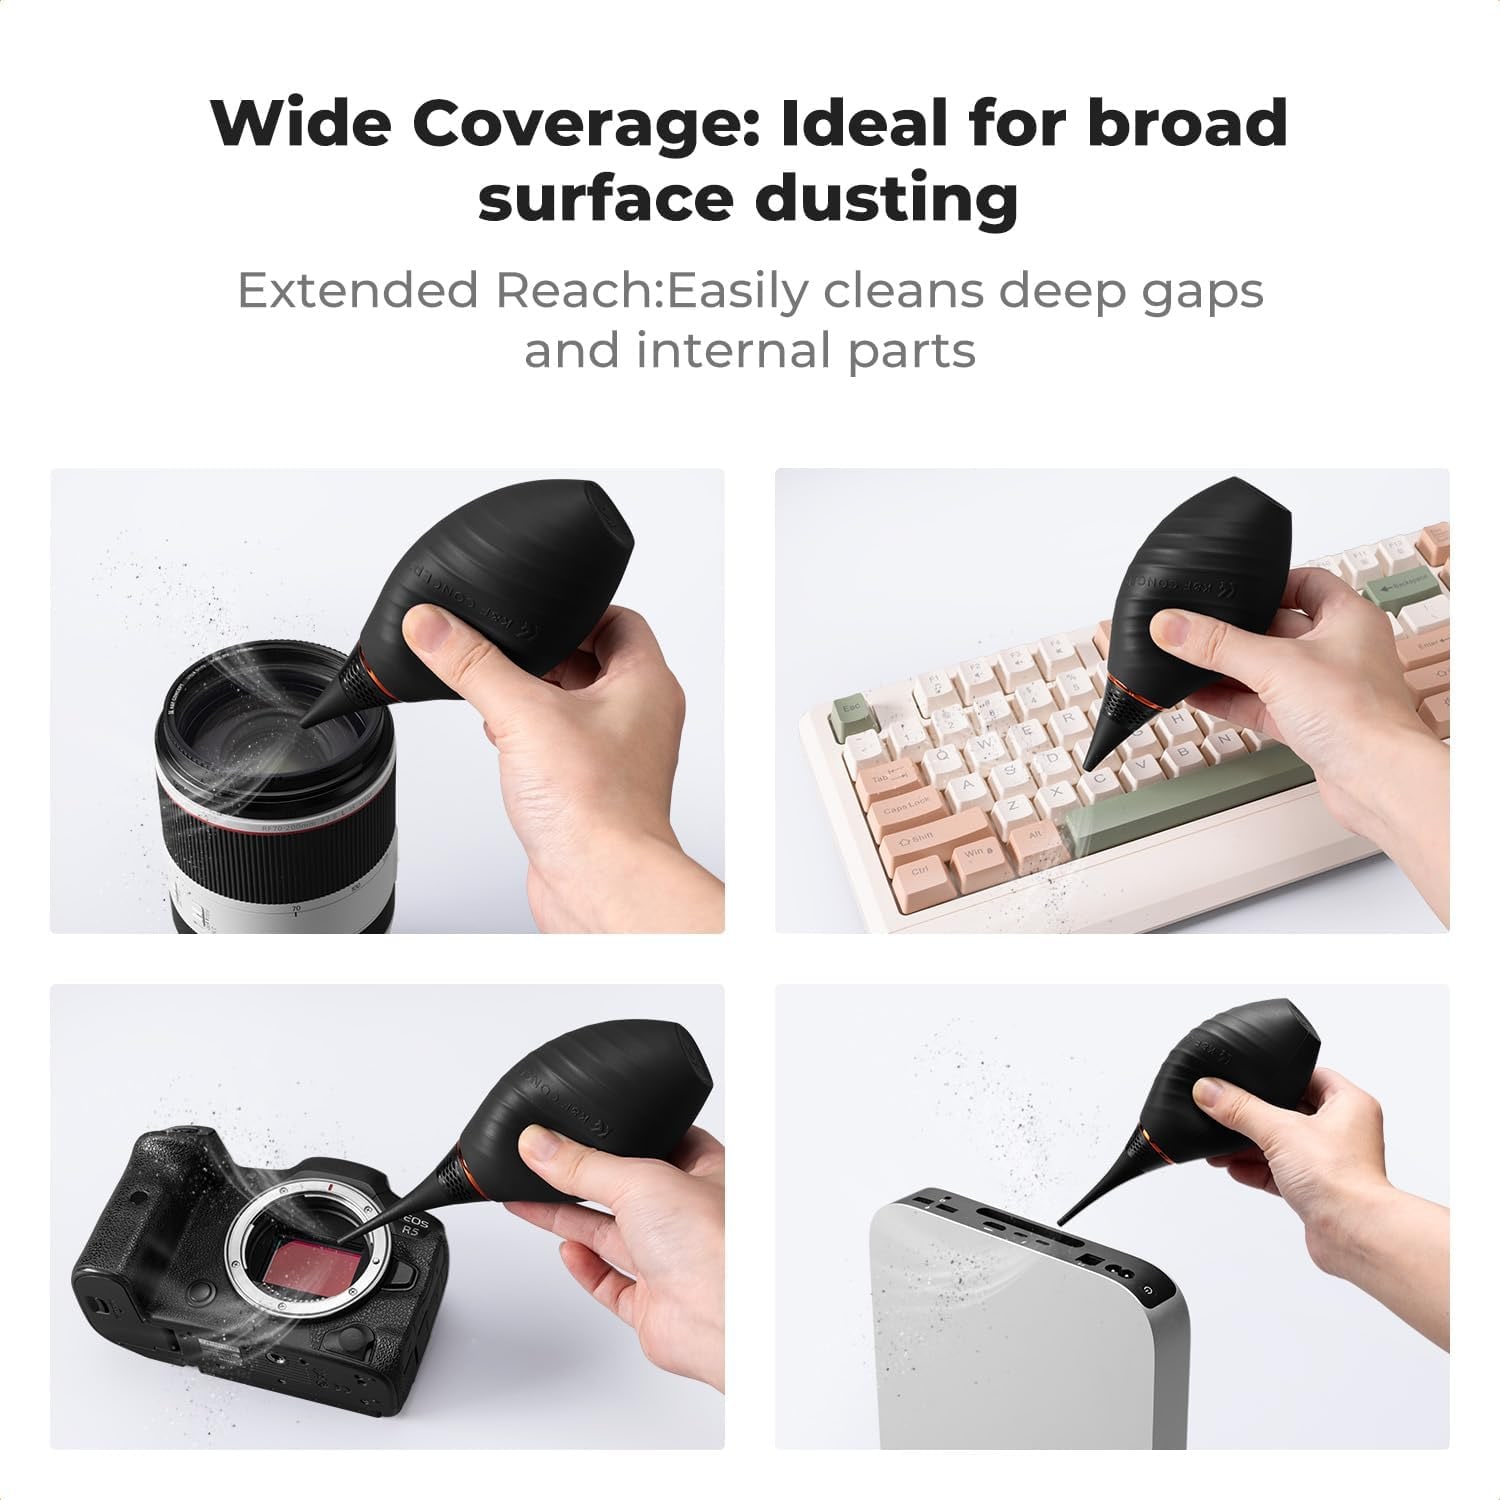
Two nozzles thread on. The short one sits closer and spreads air wider, which suits lens fronts, filters, body panels and a mirrorless sensor. The long one reaches down, which is what you want for a deeper sensor chamber on a DSLR or for the corners of a battery compartment where sand collects.
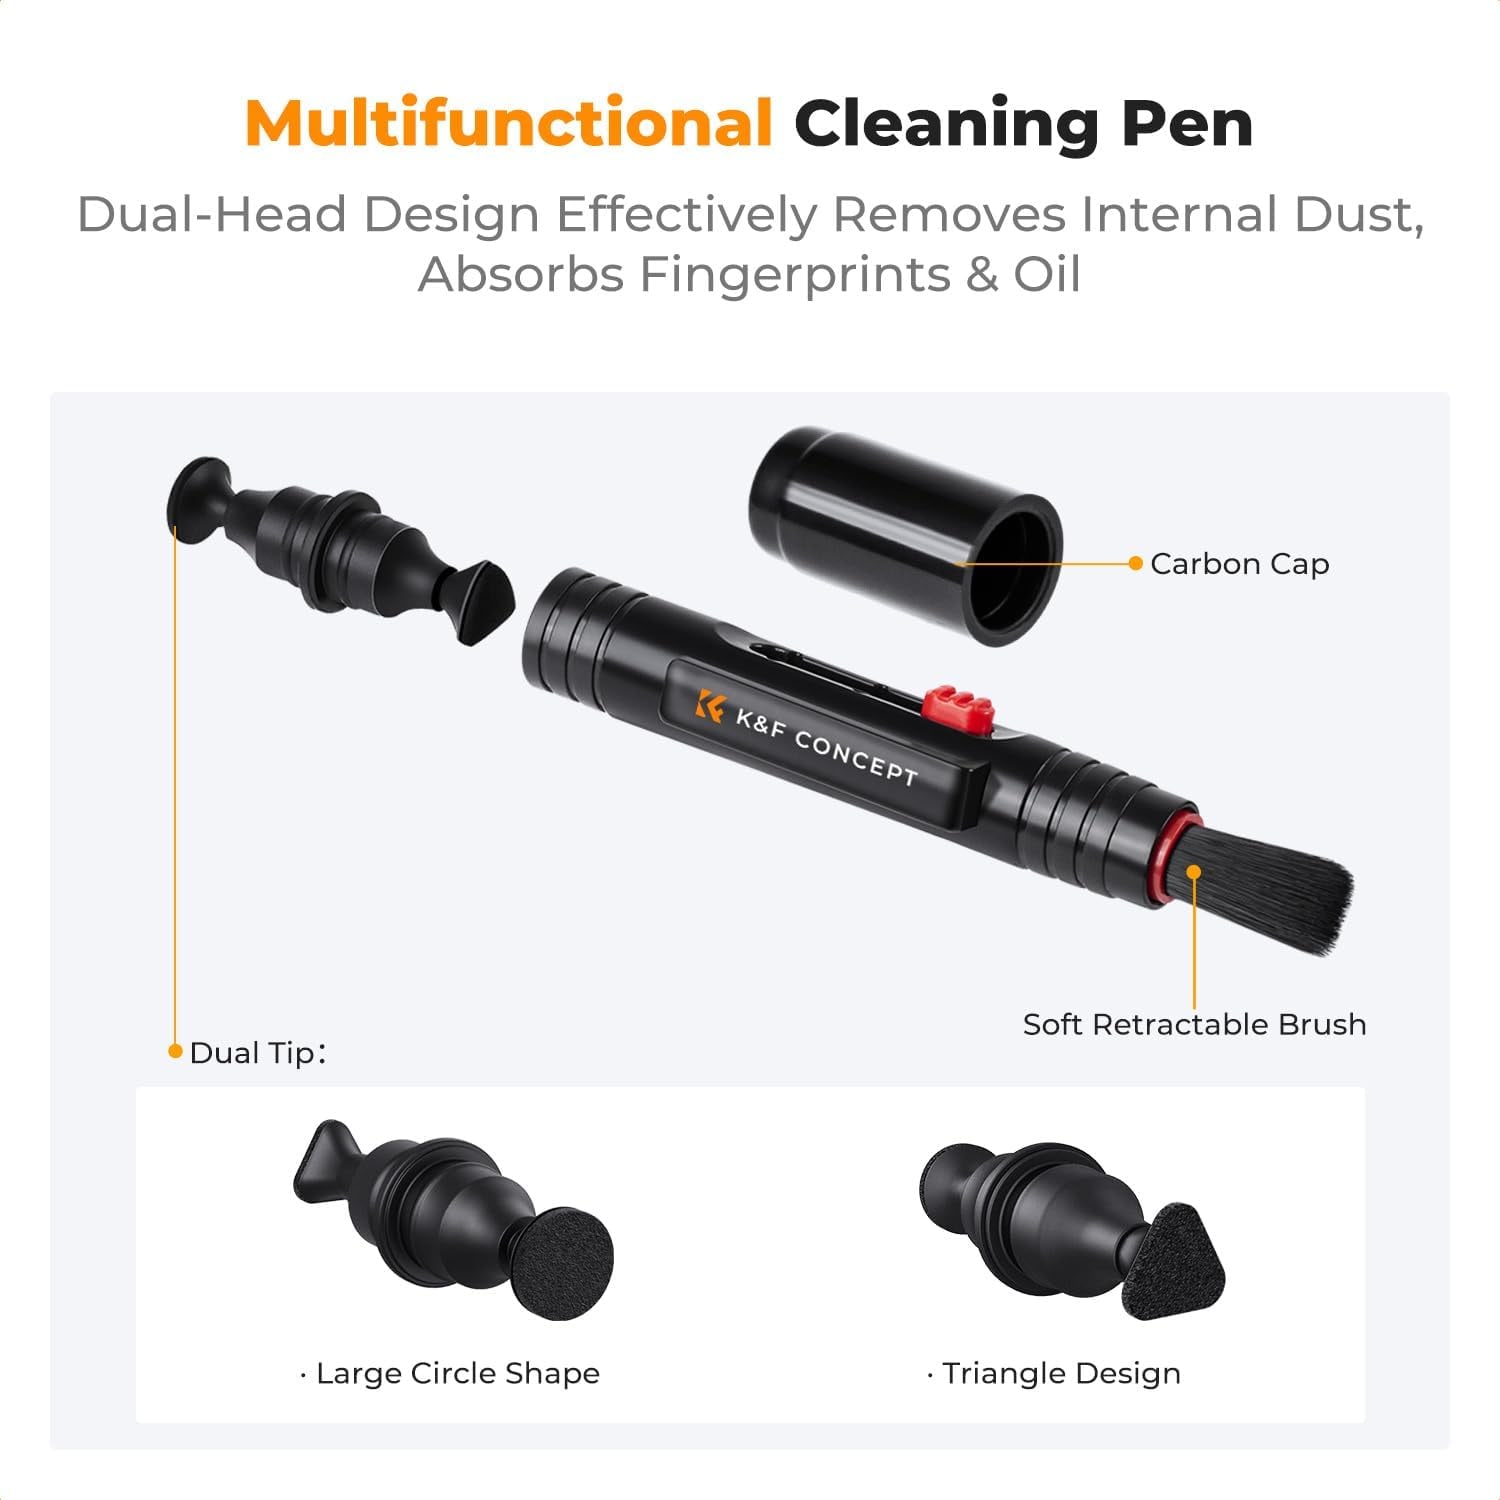
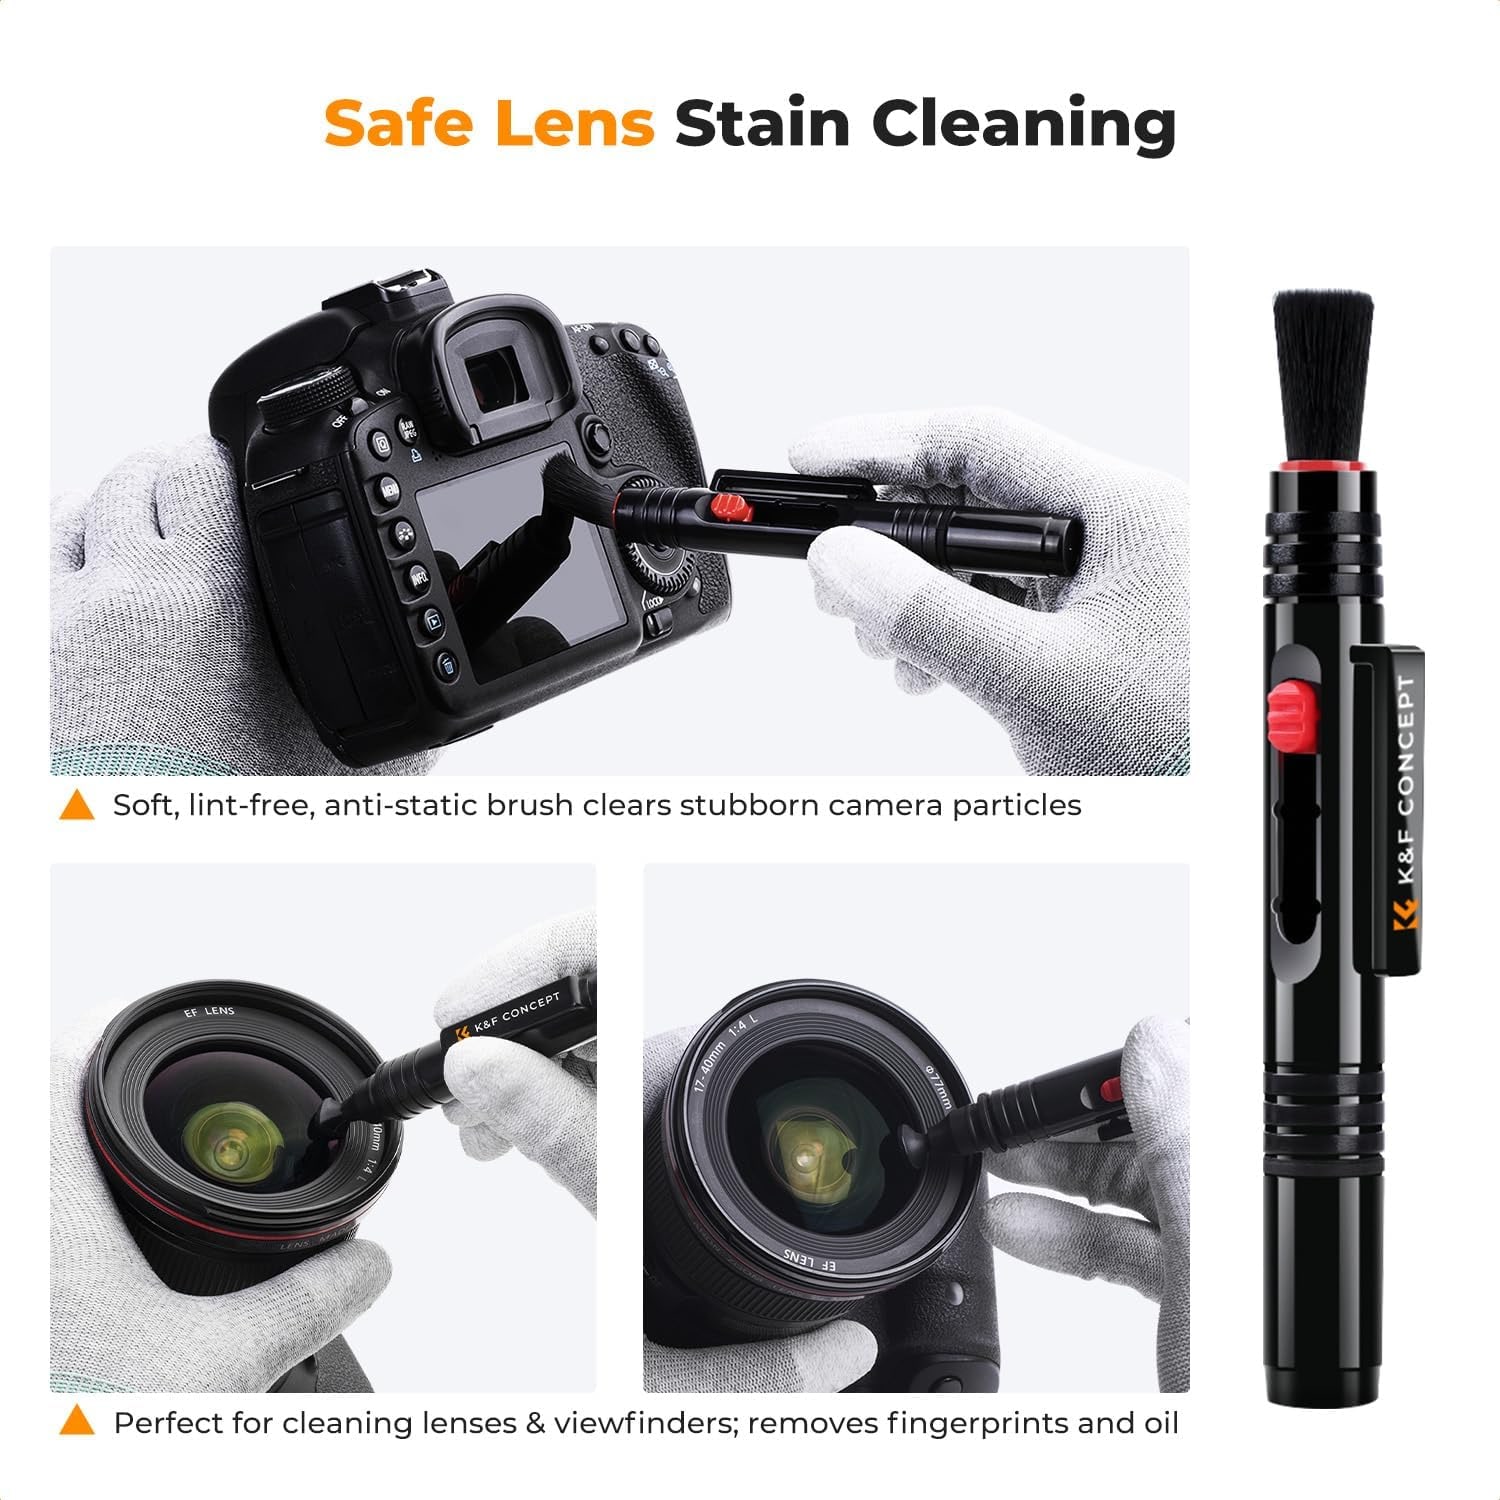
The cleaning pen has a soft retractable brush at one end and a cleaning tip at the other. The brush sweeps dust that is clinging rather than loose. The tip handles a single stubborn fingerprint in the middle of the glass, the kind a cloth keeps pushing around in circles.
The six cloths are 15 x 15 cm and each one arrives vacuum packed. That seal is the point. A microfiber cloth that has been loose in a bag has picked up grit, and grit plus pressure equals a scratch. A sealed cloth is clean on first use, every time.
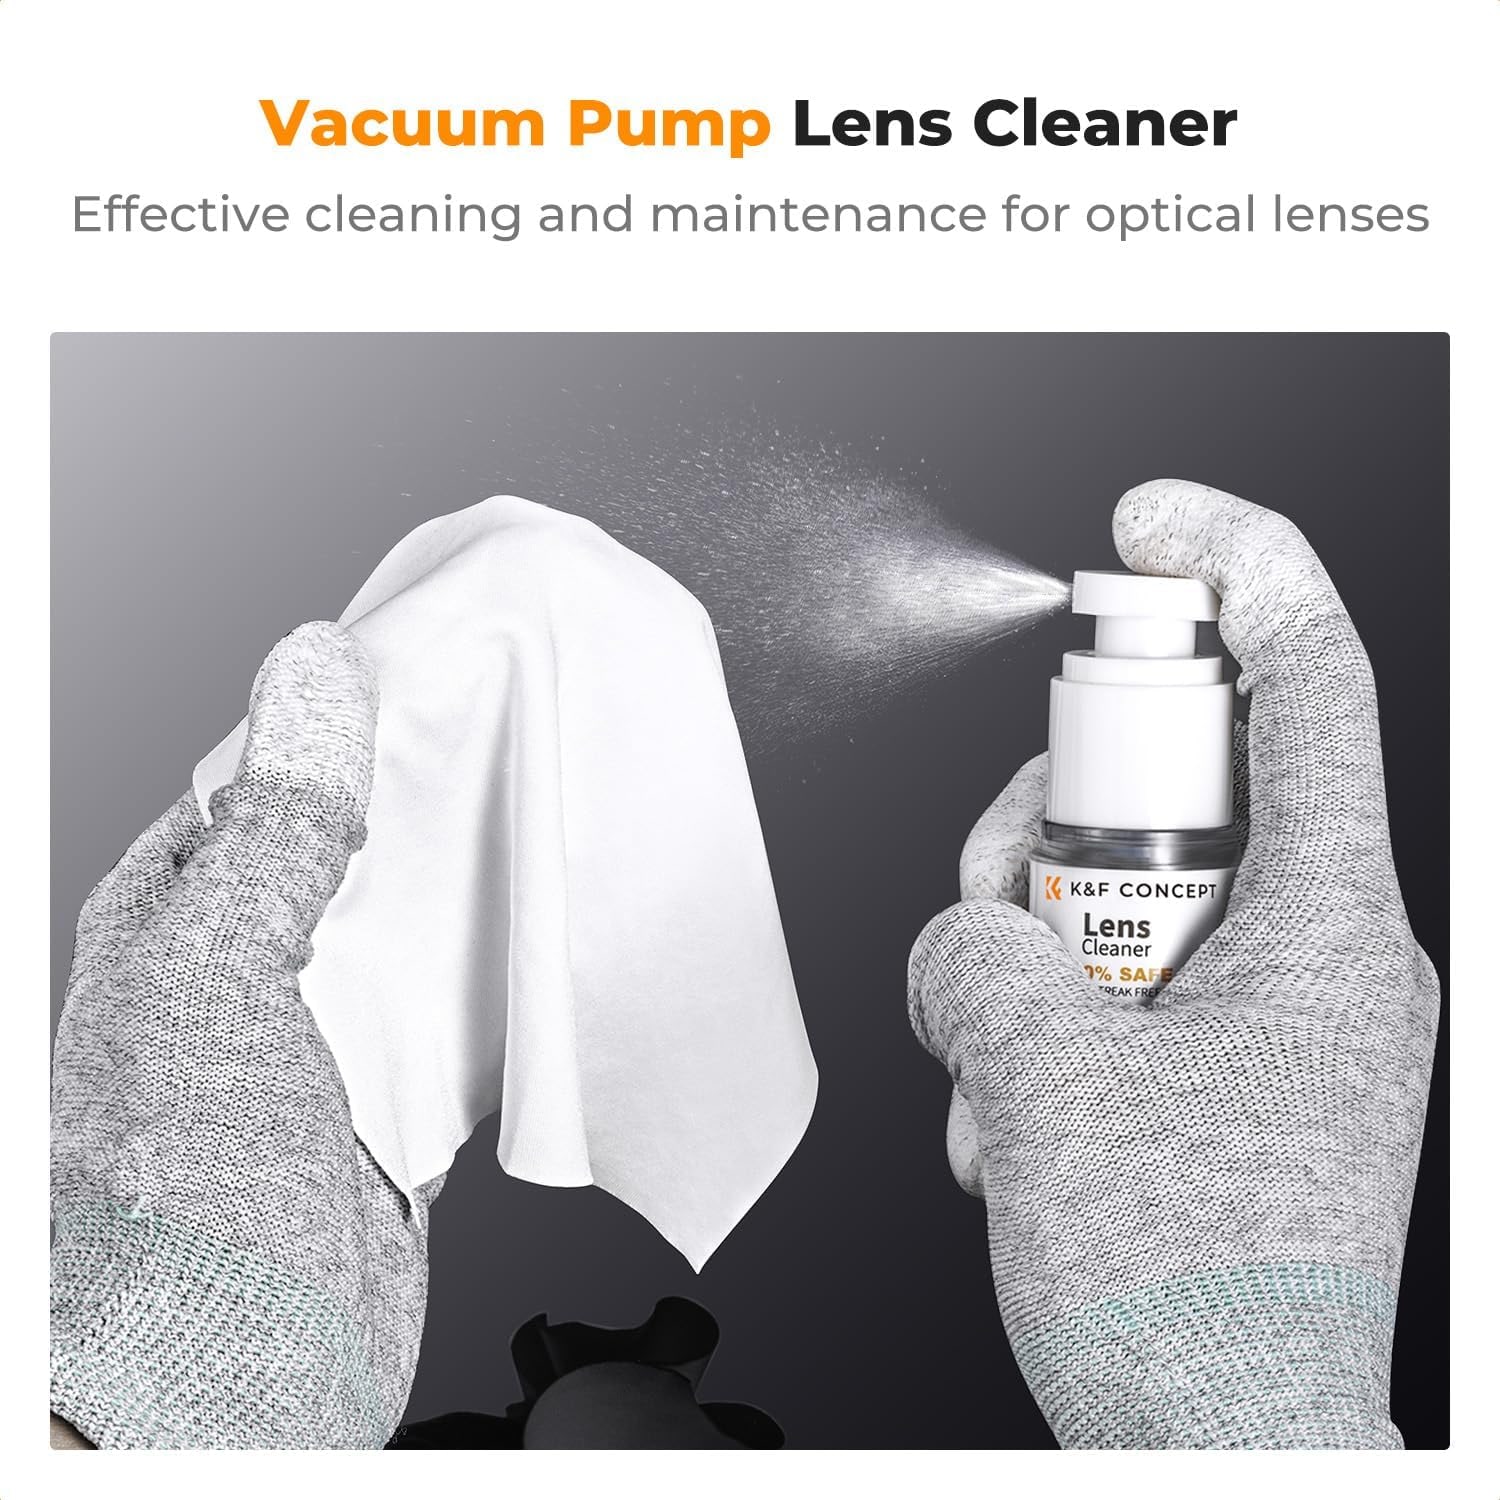
The 15 ml bottle has a pump head so you get a measured mist instead of a slosh. Fifteen milliliters goes a very long way when you are only ever putting two pumps on a cloth.
How to clean without causing damage
The order matters more than the tools. Work from the least contact to the most.
Start with air. Hold the camera or lens face down so gravity helps, then give two or three short puffs with the short nozzle. Most dust leaves at this stage. Do not hold the nozzle against the glass. An inch of gap is plenty.
If something is still sitting there, use the brush. Short light strokes in one direction, flicking the dust off the edge rather than back across the middle. Then blow again to clear what the brush loosened.
Only now reach for a cloth. Use it dry first. Fold it so you are working with a fresh face and move in a slow spiral from the centre outward. Dry cloth clears haze and light marks without any liquid involved.
Fluid is the last step and only for oil, fingerprints or salt spray. Two pumps onto the cloth, never onto the lens. Liquid applied directly to glass can run down into the barrel and sit between elements, and that is a service job, not a cleaning job. Wipe with the damp part of the cloth, then dry with a clean corner before it evaporates and leaves a ring.
For the rear screen, the same approach works but with even less pressure. Screens scratch more easily than coated glass.
Who this suits
If you own one camera and one lens and shoot a few times a month, this covers everything you will ever need to do yourself. Air, brush, cloth, fluid. There is nothing else in the home cleaning routine.
If you change lenses regularly, especially outdoors, the long nozzle earns its place. Dust gets into a mount every time you break the seal, and clearing the chamber with air before you mount the next lens stops it reaching the sensor in the first place.
If you travel with gear, the size is the argument. The whole kit takes up about as much room as a spare battery and a card wallet. A good travel camera cleaning kit is one you actually carry, and this one is small enough that you will.
If you own a telescope, a pair of binoculars or filters, the same tools apply. Coated optics are coated optics. The maker lists telescope filters and lenses among compatible devices, along with cell phones, keyboards and musical instruments, so the set does not sit idle between shoots.
What it does not do is wet sensor cleaning. That needs dedicated swabs sized to your sensor and a steadier hand than most people want to risk. Air handles loose sensor dust, which is the majority of it. For anything baked on, a camera service centre is the sensible call.
Choosing between kits
Most cleaning sets look alike in a photo, so it is worth knowing which differences are real.
Look at the blower first. Silicone over hard plastic, a soft tip over a rigid one, and a separate intake rather than a single hole. Those three things decide whether a blower helps or quietly scratches your glass over a year.
Check the cloth packaging. Individually sealed cloths cost more to produce and are worth it. Loose cloths bundled in a plastic sleeve are an unknown quantity.
Check how the fluid dispenses. A pump head gives you a controlled amount. A flip cap gives you a puddle.
Count what you actually get rather than what the name promises. A set that claims twelve pieces by counting each cotton swab separately is not better than a set with fewer useful ones. The contents list here is spelled out item by item so you can judge it yourself.
Looking after the kit itself
A cleaning kit that is dirty makes things worse, so give it the same small amount of care.
Keep the blower in a bag so dust does not settle inside the tip. Squeeze it once into open air before every use. That first puff clears anything that crept in.
Keep the pen capped. The cleaning tip picks up oil from whatever it touches, and an uncapped pen rolling around a bag will collect lint.
Wash cloths in warm water with plain detergent, no softener, and let them air dry. Softener coats the fibres and kills the grip that makes microfiber work. When a cloth starts to feel rough rather than slippery, stop using it on glass and demote it to the camera body.
Store the fluid upright with the pump closed. Keep the whole kit dry, since it is not water resistant, and out of a hot car where the bottle can leak.
The short version
Dust is constant and fingerprints are inevitable, and the cost of ignoring both is a slow loss of contrast you will only notice later. This set gives you the four things that fix it: a silicone blower with two nozzle lengths, a brush and tip pen, six sealed microfiber cloths and 15 ml of lens fluid with a pump head.
Work in order. Air, brush, dry cloth, then fluid only if you have to. Keep the kit in the bag rather than the closet. Do that and your glass stays clean, your frames stay clean, and you spend your editing time on the picture instead of on the spot removal tool.