
The complete guide
How to Choose a Travel Tripod You Will Actually Carry
The problem with most tripods
Almost everyone who buys a camera eventually buys a tripod. Far fewer people actually bring it anywhere. The usual story goes like this. You buy a solid, well-reviewed tripod. It is 25 inches long folded and weighs six or seven pounds. It works beautifully in your living room. Then you plan a trip, look at your bag, look at the tripod, and leave it behind.
So you shoot handheld. In good light that is fine. The trouble starts at the edges of the day, which is exactly when the light is worth photographing. Sunrise, blue hour, inside a church, a city street after dark. Your shutter speed drops, your hands move, and the shot comes back slightly soft. Not obviously ruined, just not sharp. You delete it later and do not think much about why.
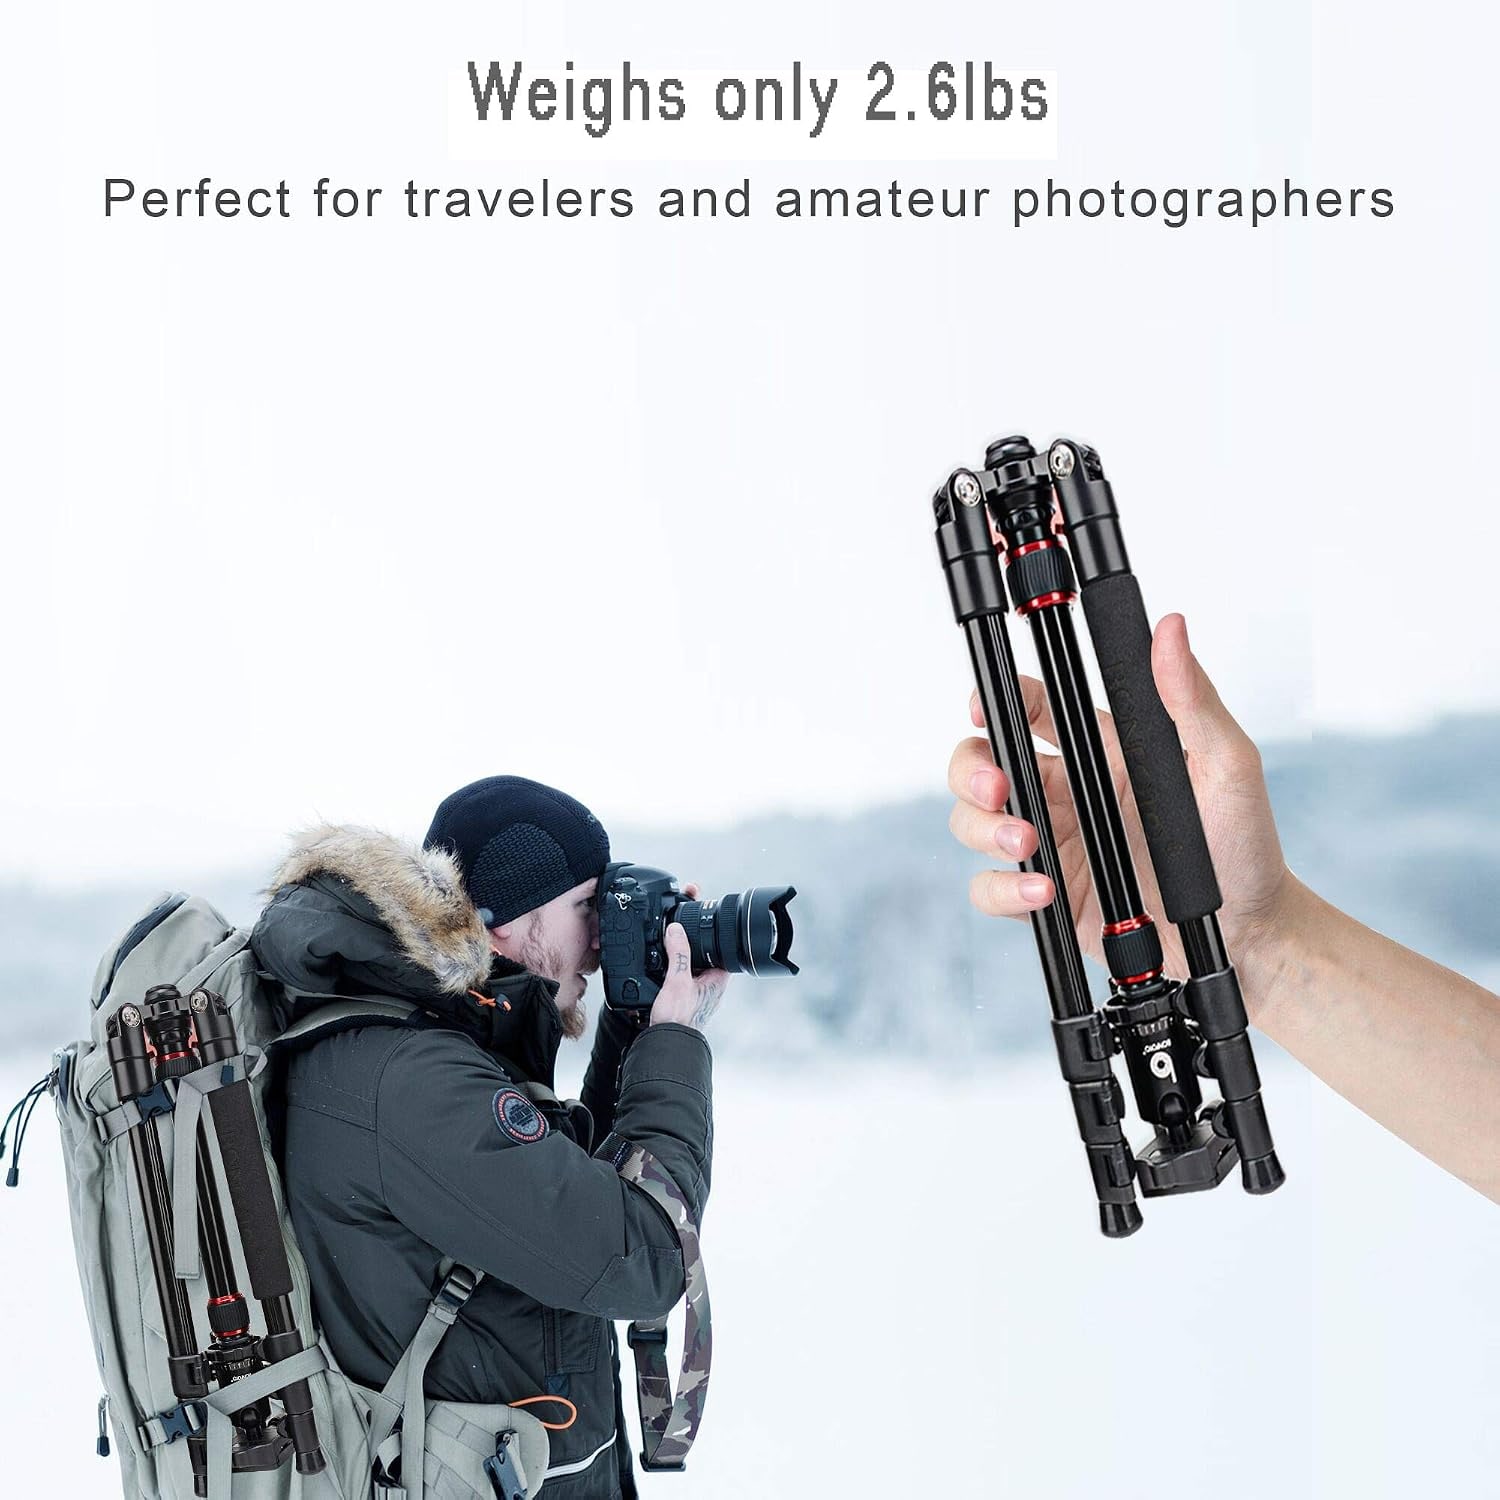
A travel camera tripod is the compromise that fixes this. It gives up some of the mass and height of a full-size tripod in exchange for folding small enough that carrying it is not a decision you have to make each morning. It just lives in the bag.
What makes this one travel-sized
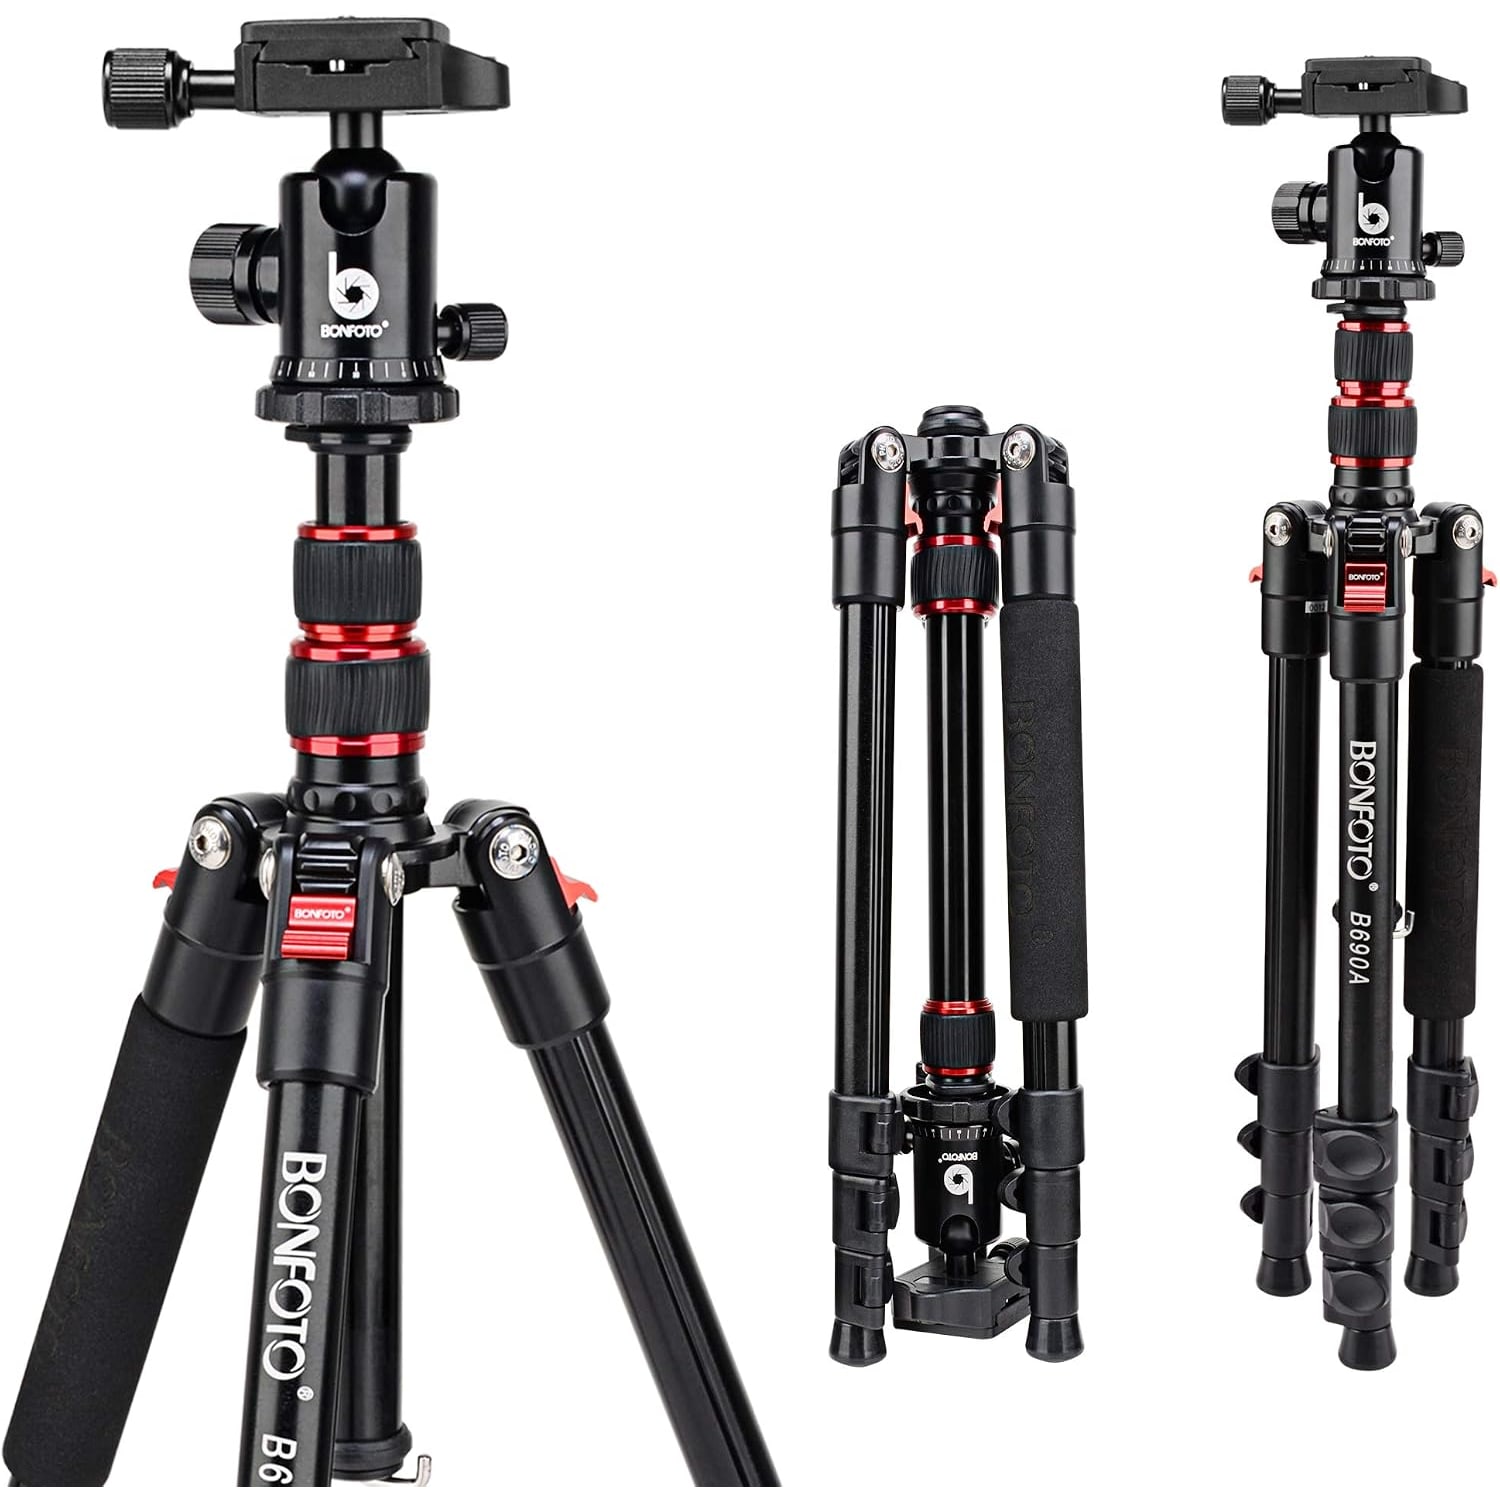
Two numbers matter most. Folded length is 14.5 inches. Weight is 3 pounds in the maker's spec table and 2.6lbs in its product photos. Together those mean it fits inside a daypack rather than hanging off it, and it slips into a carry-on without eating half the space.
The folded length comes from the four-section legs. Each leg nests inside the one above it, so four sections collapse shorter than three. The trade-off is that the bottom section is the thinnest and therefore the least rigid. That is true of every multi-section tripod on the market, and the practical answer is simple: extend the thick sections first and only pull out the thin ones when you genuinely need the height.
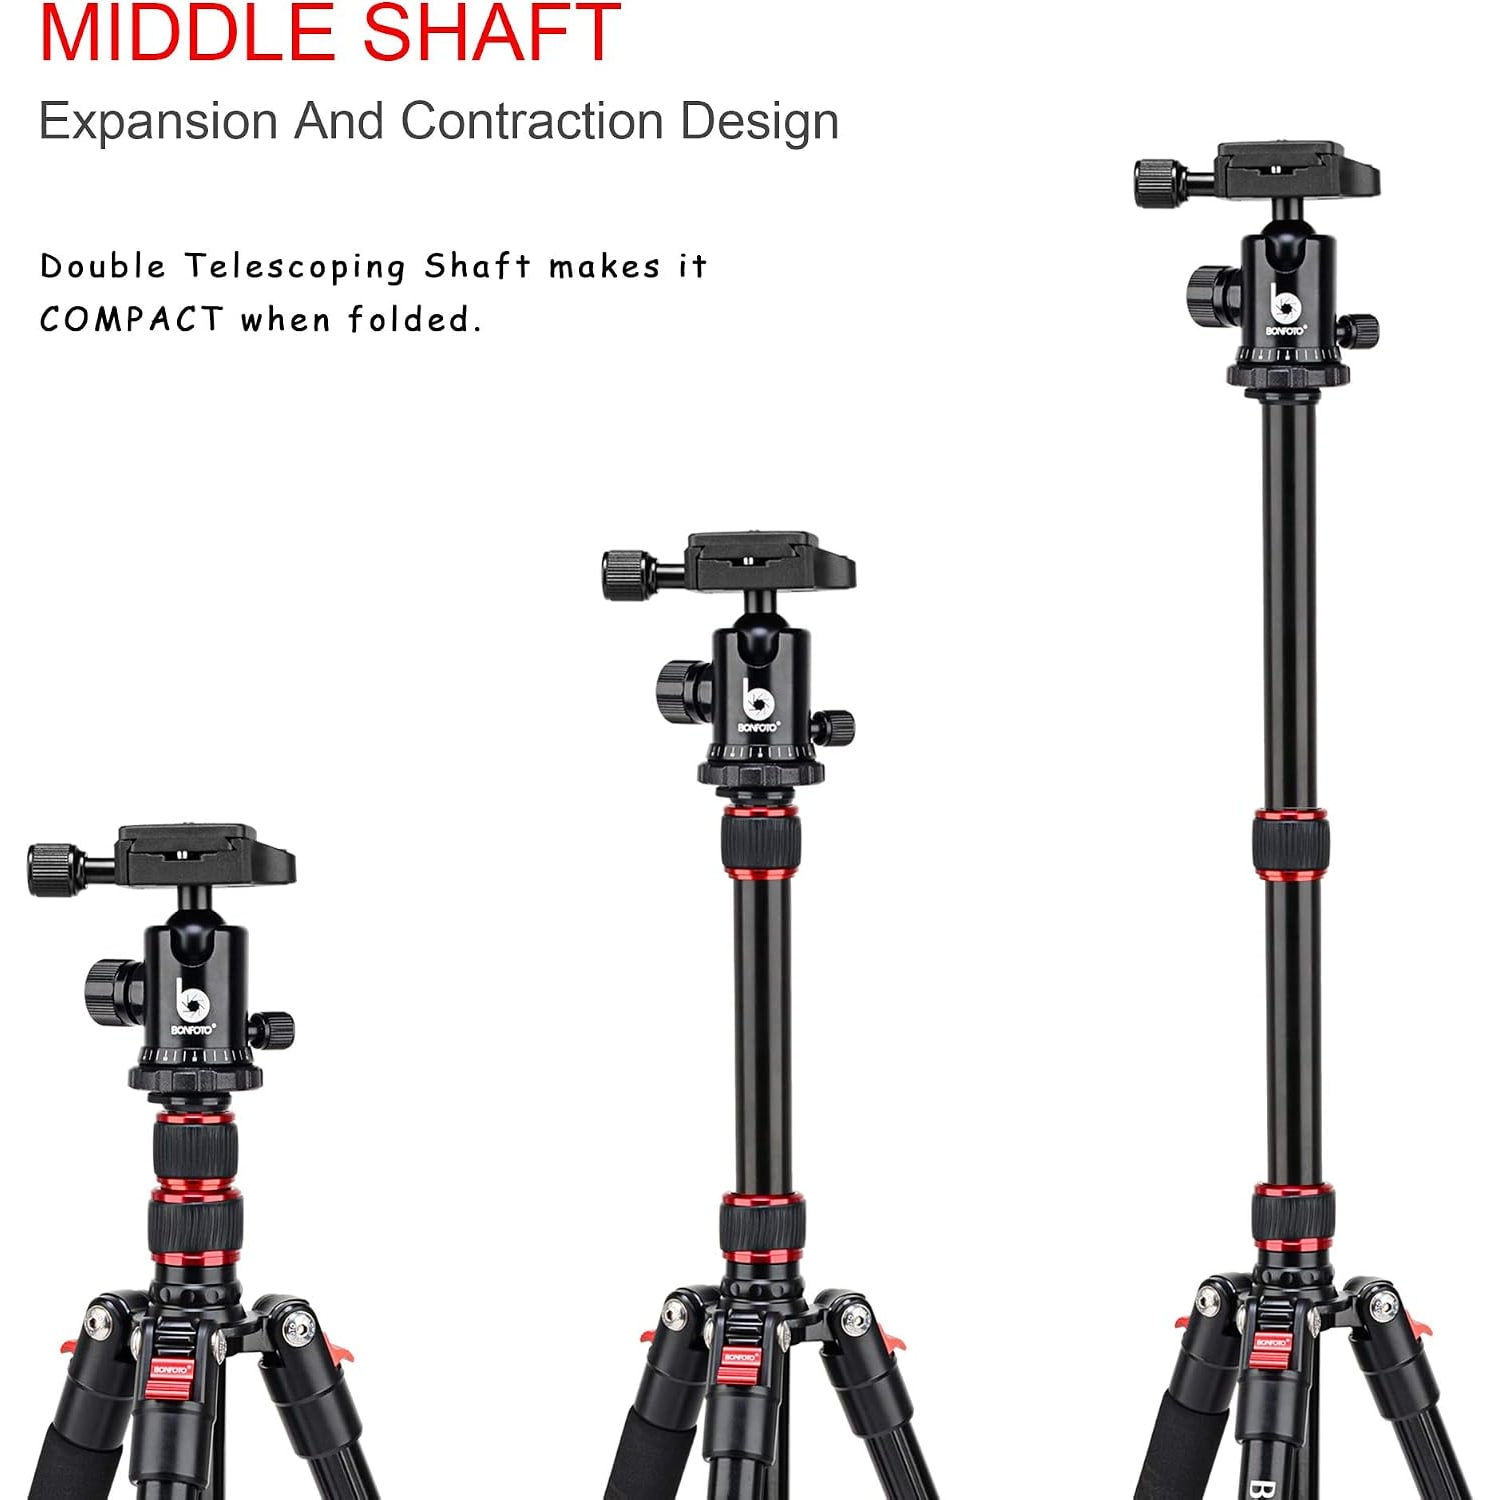
Fully extended it reaches 53.5 inches. That is not quite eye level for a tall person, but it is close enough for most shooting, and you can always find higher ground. The minimum of 20.5 inches is arguably the more useful end. Low angles make landscapes feel bigger, let you shoot across a table, and get the camera down into grass or over water.
The ball head, explained simply
The head is the part that connects your camera to the legs and lets you aim it. This one is a ball head, which means a metal sphere sits in a socket with a clamp around it.
Loosen the clamp and the camera moves freely in every direction at once. Point it where you want, tighten the clamp, and it stays. That is it. It gives 360 degrees of horizontal swivel and 90 degrees of vertical movement, so you can sweep across a skyline, tip down onto a tabletop, or roll the camera into a vertical frame.
Compare that to a pan-tilt head, which has a separate handle for each axis. Pan-tilt heads are more precise and better for careful video panning. Ball heads are faster. For travel, where the light is changing and you are often moving between shots, faster usually wins.
One habit worth building: snug the clamp before you let go of the camera. A loose ball head and a front-heavy lens will flop forward, and that is how front elements meet rocks.
Flip locks versus twist locks
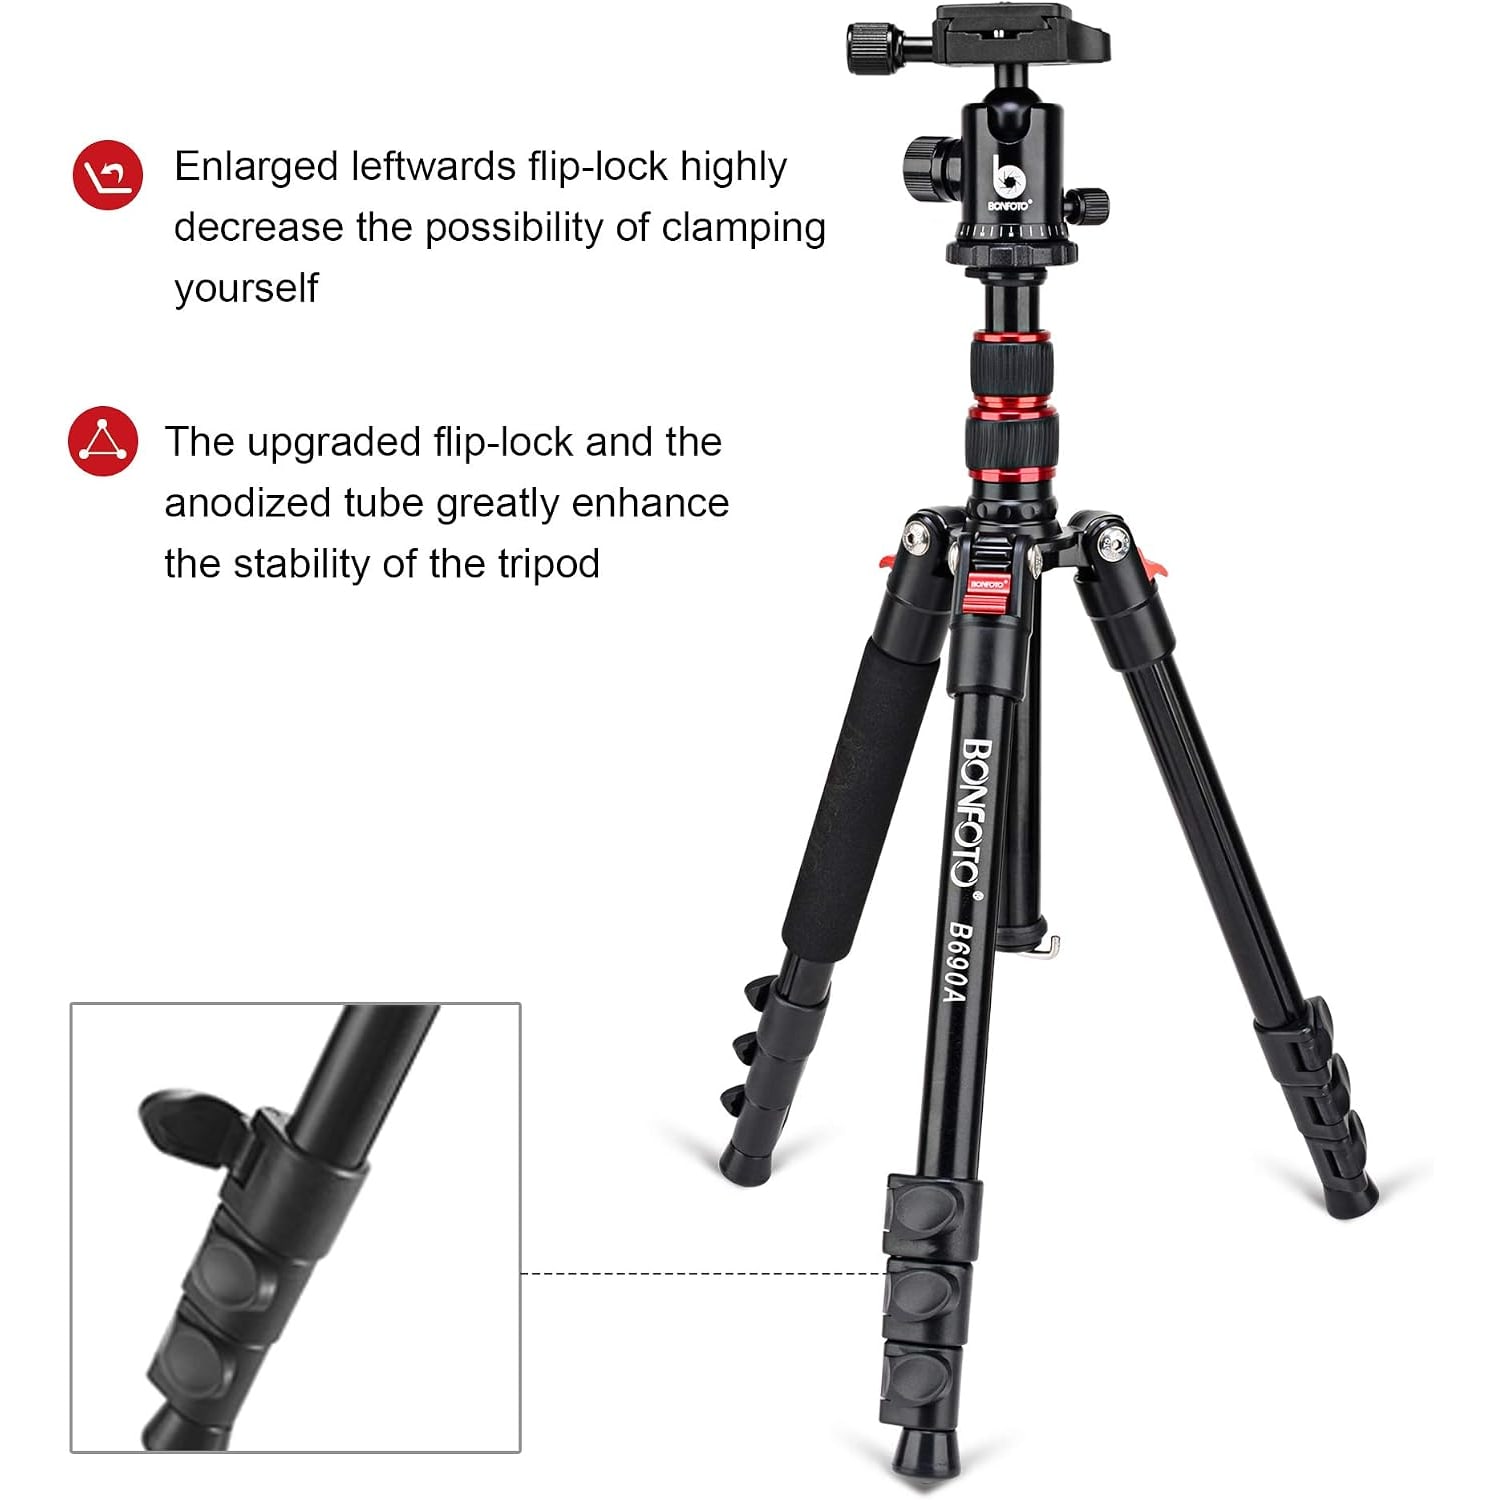
The leg sections are held in place by flip locks. These are small levers you flick open to release a section and flick shut to clamp it.
The alternative is twist locks, which you rotate. Both work. Flip locks are generally quicker to operate, easier with gloves on, and let you see at a glance whether a leg is locked. Twist locks keep a slightly cleaner profile and are less likely to catch on bag straps.
The thing to know about any flip lock is that grit is the enemy. Sand in the mechanism makes it grind and eventually stops it clamping properly. If you shoot at the beach, rinse the legs with fresh water when you get home, open every lock, and let it all dry before folding. Two minutes of care adds years.
Working out whether it will hold your camera
The maker gives a weight limit of 18 pounds. That sounds like a lot, and it is more than most enthusiast setups weigh.
A typical mirrorless body with a 24-70mm lens lands around 2.5 pounds. A midrange DSLR with a similar zoom might be 3.5 pounds. Even a full-frame body with a 70-200mm often stays under 6 pounds. So in normal use you are nowhere near the ceiling.
Treat a weight limit as headroom rather than a goal, though. A tripod loaded to its maximum is technically holding the camera, but it will also be more prone to vibration. Being comfortably under the limit is what gives you sharp frames at a two-second exposure.
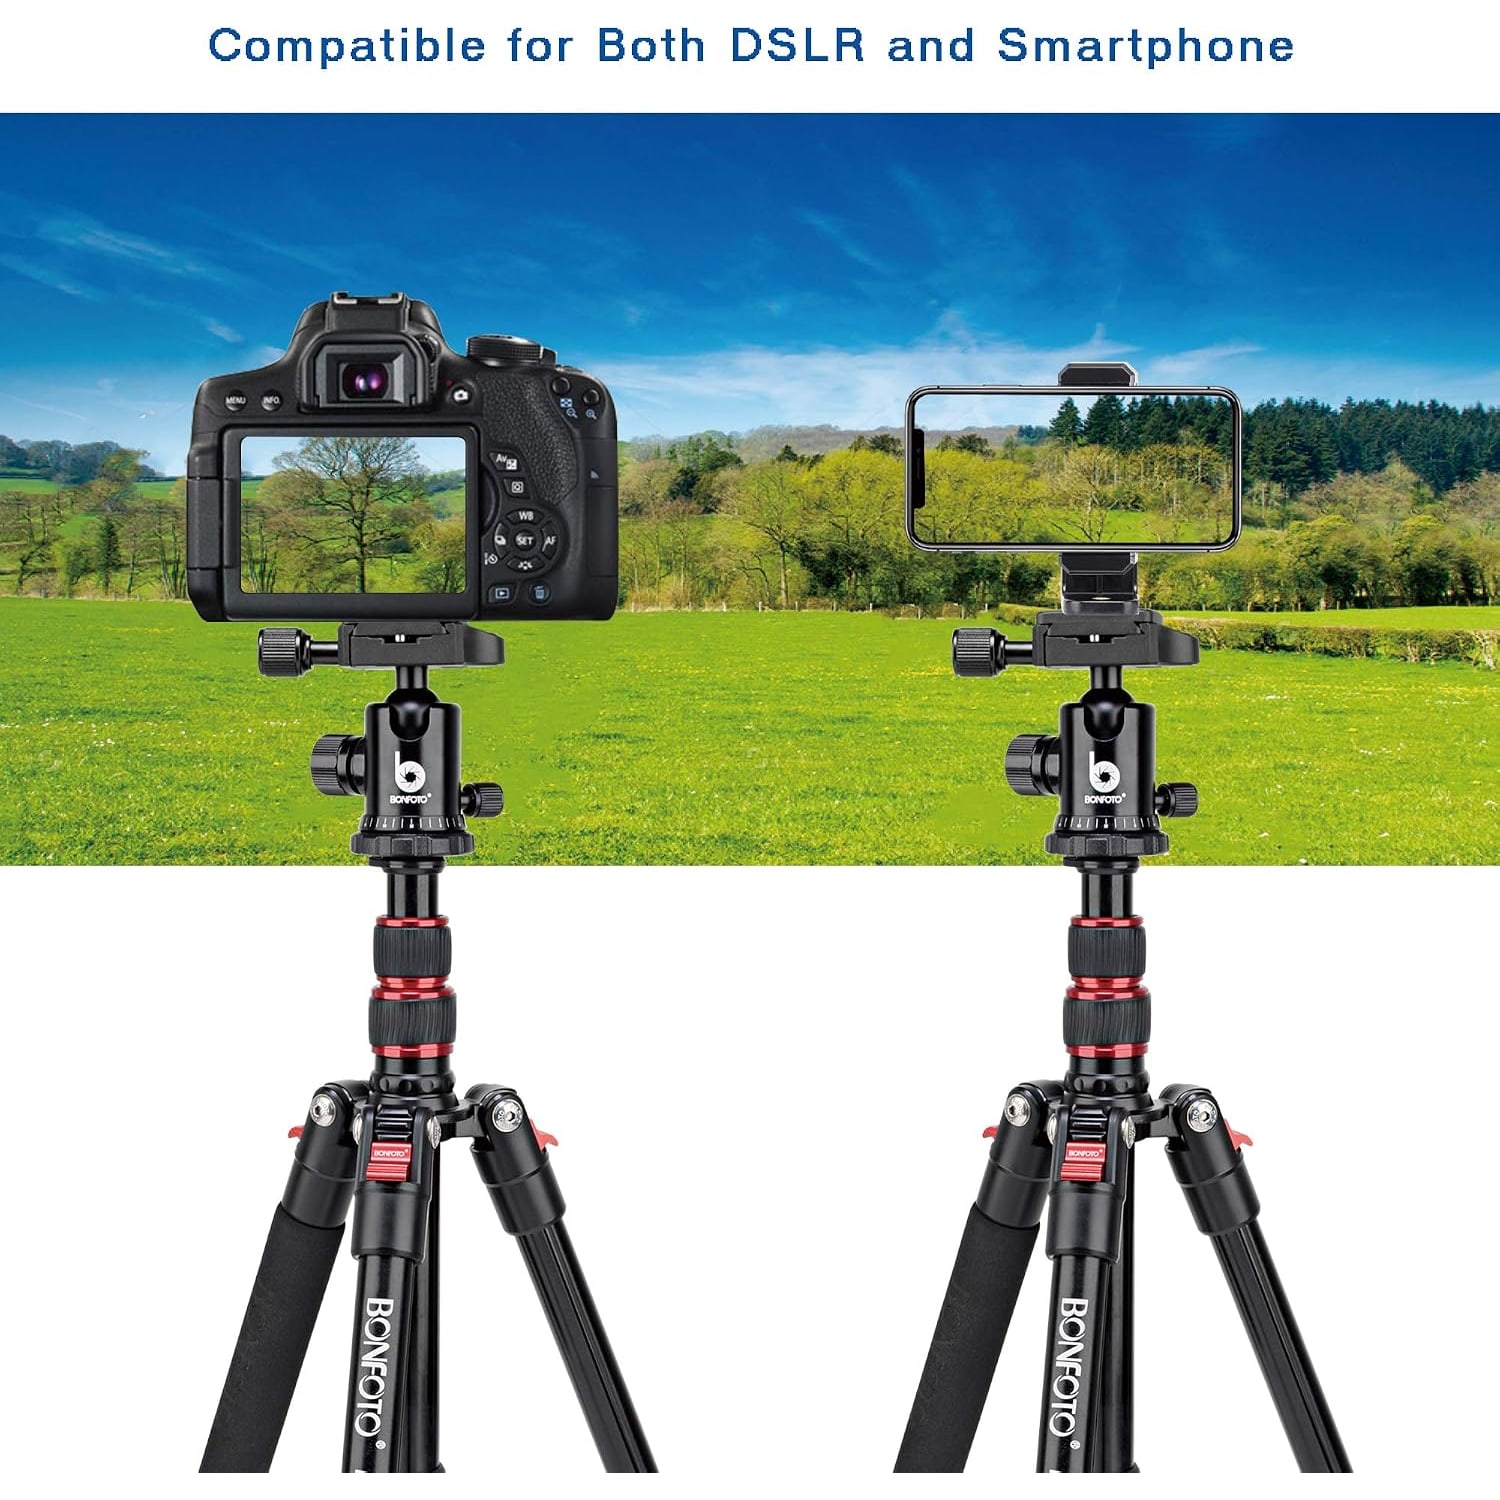
The mounting plate uses a 1/4 inch standard screw. That is the thread on the bottom of nearly every camera made in the last few decades, plus plenty of other gear. Small projectors, spotting scopes, phone clamps, and compact lights usually take the same thread or offer an adapter. If you are hunting for a tripod for mirrorless cameras on a budget, thread compatibility is rarely the obstacle.
Who this suits, and who it does not
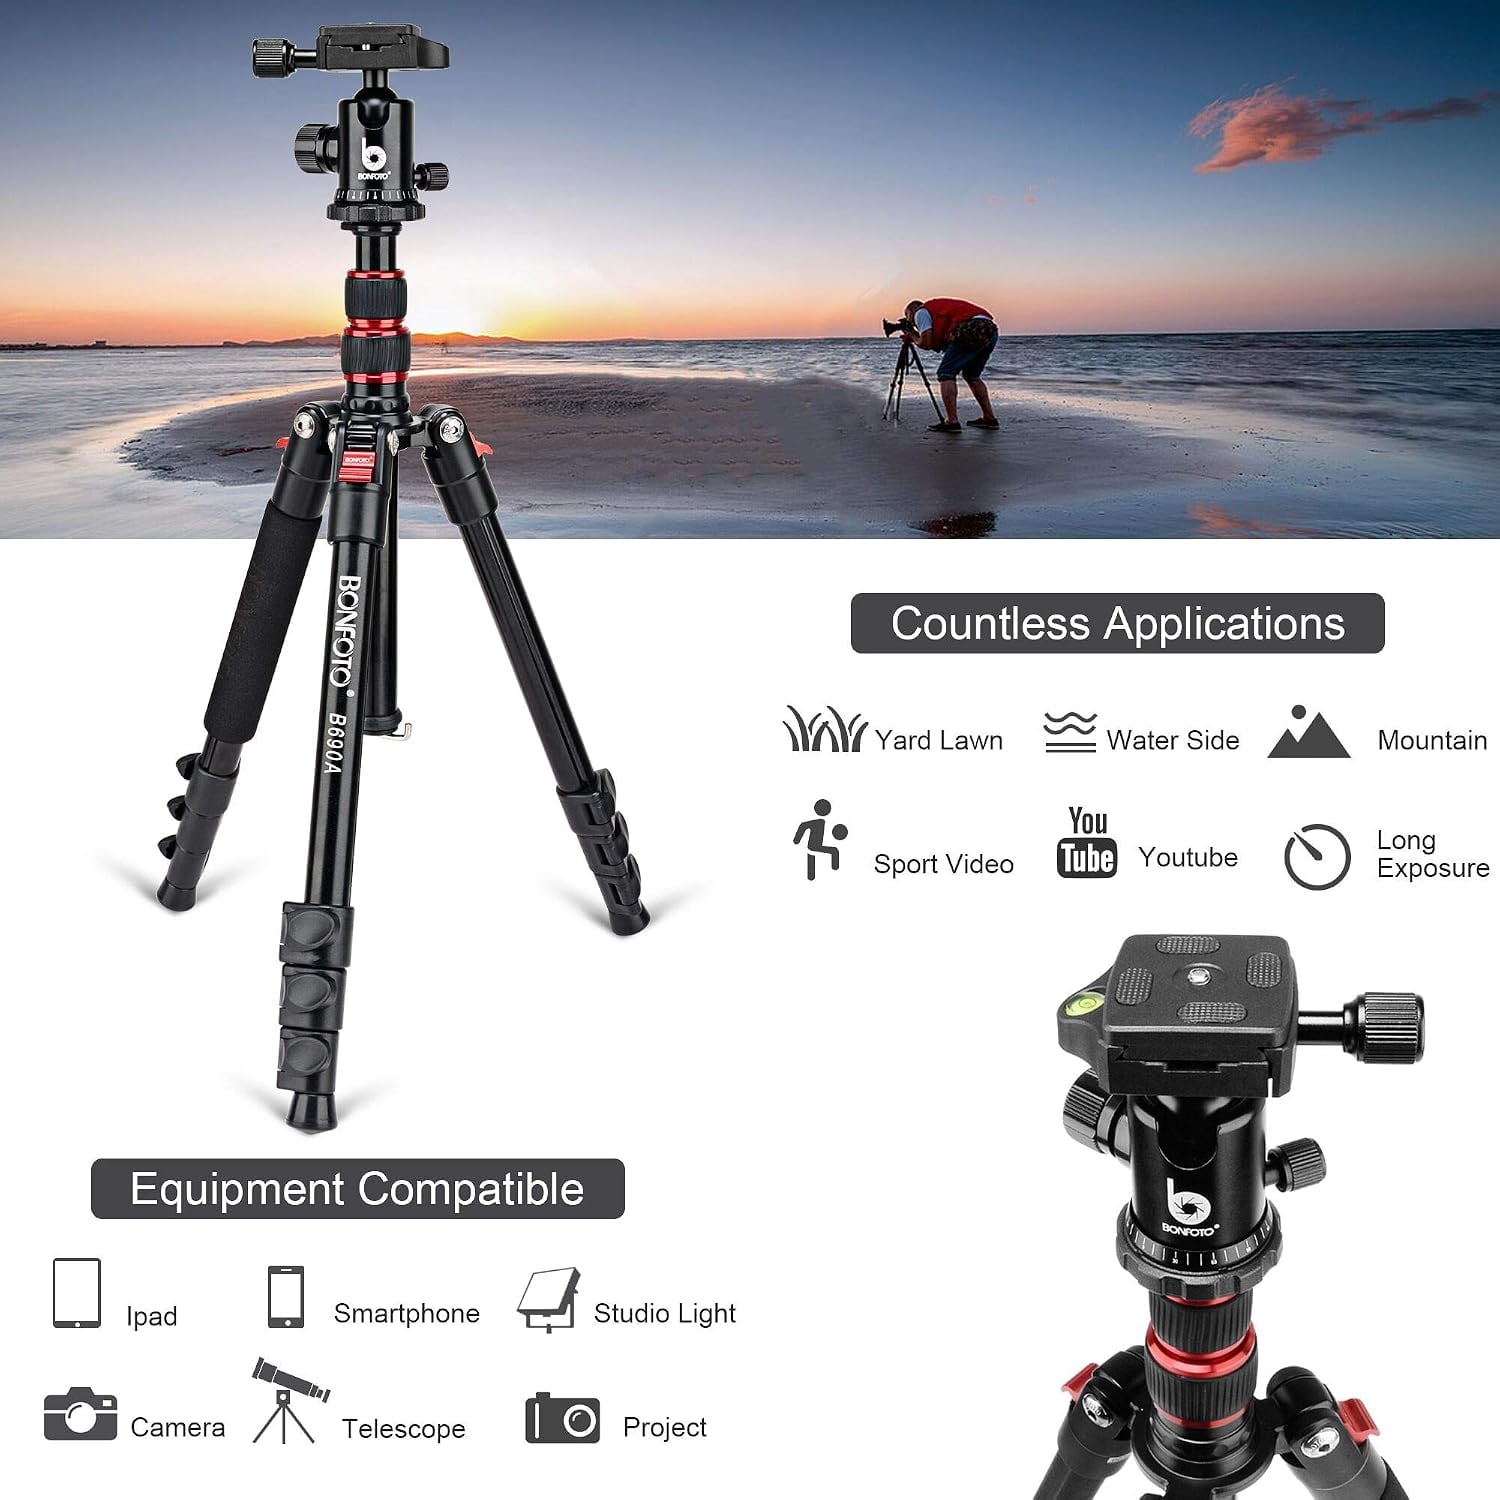
It suits travellers, hikers, and anyone who has already learned that a heavy tripod stays home. It suits people shooting landscapes, city scenes at night, long exposures of water, timelapses from windows, and group shots where they want to be in the picture. It works well for phone shooting with a clamp, and for static video and locked-off vlogging.
It is less suited to a few situations. If you shoot wildlife with a long, heavy telephoto, you want something with thicker legs and more mass. If you need smooth video pans, you want a fluid head instead of a ball head. And if you are an ultralight backpacker counting every ounce, about 3 pounds may still be more than you want to carry.
Getting the sharpest results
Set up on firm ground where you can. Spread the legs wide rather than keeping them tucked in. Extend the thick sections first and the thin ones last, or not at all.
Use a remote release or your camera's two-second self-timer so nothing touches the body during the exposure. If your camera has in-body stabilization, check the manual, because some systems are best switched off on a tripod.
In wind, get low. Shortening the legs lowers the centre of gravity and cuts the lever effect that makes a tall tripod wobble. If you can hang your bag somewhere on the tripod to add weight, that helps too.
Looking after it
Wipe the legs down after use. If you have been near salt water or sand, rinse with fresh water, open the locks, and let everything dry properly before folding it away.
Check the flip locks from time to time and make sure they still clamp firmly. Keep the mounting screw and plate clean so the threads turn smoothly. Store it loosely folded somewhere dry, not sealed in a damp bag in the trunk of a car.
The short version
A tripod only helps if it is with you. This one folds to 14.5 inches, weighs about 3 pounds, extends to 53.5 inches, drops to 20.5 inches, and holds up to 18 pounds on a 360 degree ball head with a 1/4 inch screw. It is not a studio stand and does not pretend to be. It is the tripod that fits in the bag you already carry, which means it is the one that will be there when the light finally goes good.